Beginners Course ONLINE - Standard Package
This Online Beginners Course is available in three separate packages so you can choose exactly how much or how little support you would like.
Standard Package - £59.00 - you are currently in this package
- Step by step pre-recorded video tutorials for the four main projects in this Beginners Course.
- Extension Ideas with video tutorials on how to extend your practice of each project whilst adding more advanced features.
- Access to members only Facebook Group to share comments and your makes with others on the course.
Basic Package - £49.00
- Step by step pre-recorded video tutorials for the four main projects in this Beginners Course.
- Access to members only Facebook Group to share comments, questions and your makes with others on the course.
Premium Package - £69.00
- Step by step pre-recorded video tutorials for the four main projects in this Beginners Course.
- Extension Ideas with video tutorials on how to extend your practice of each project whilst adding more advanced features.
- Full written instructions to accompany all video tutorials and Extension Ideas, complete with hints and tips along the way.
- Access to members only Facebook Group to share comments, questions and your makes with others on the course.
- WhatsApp messaging and one-to-one calls for support from Sarah throughout this Course.

The four carefully graded projects in this course are:
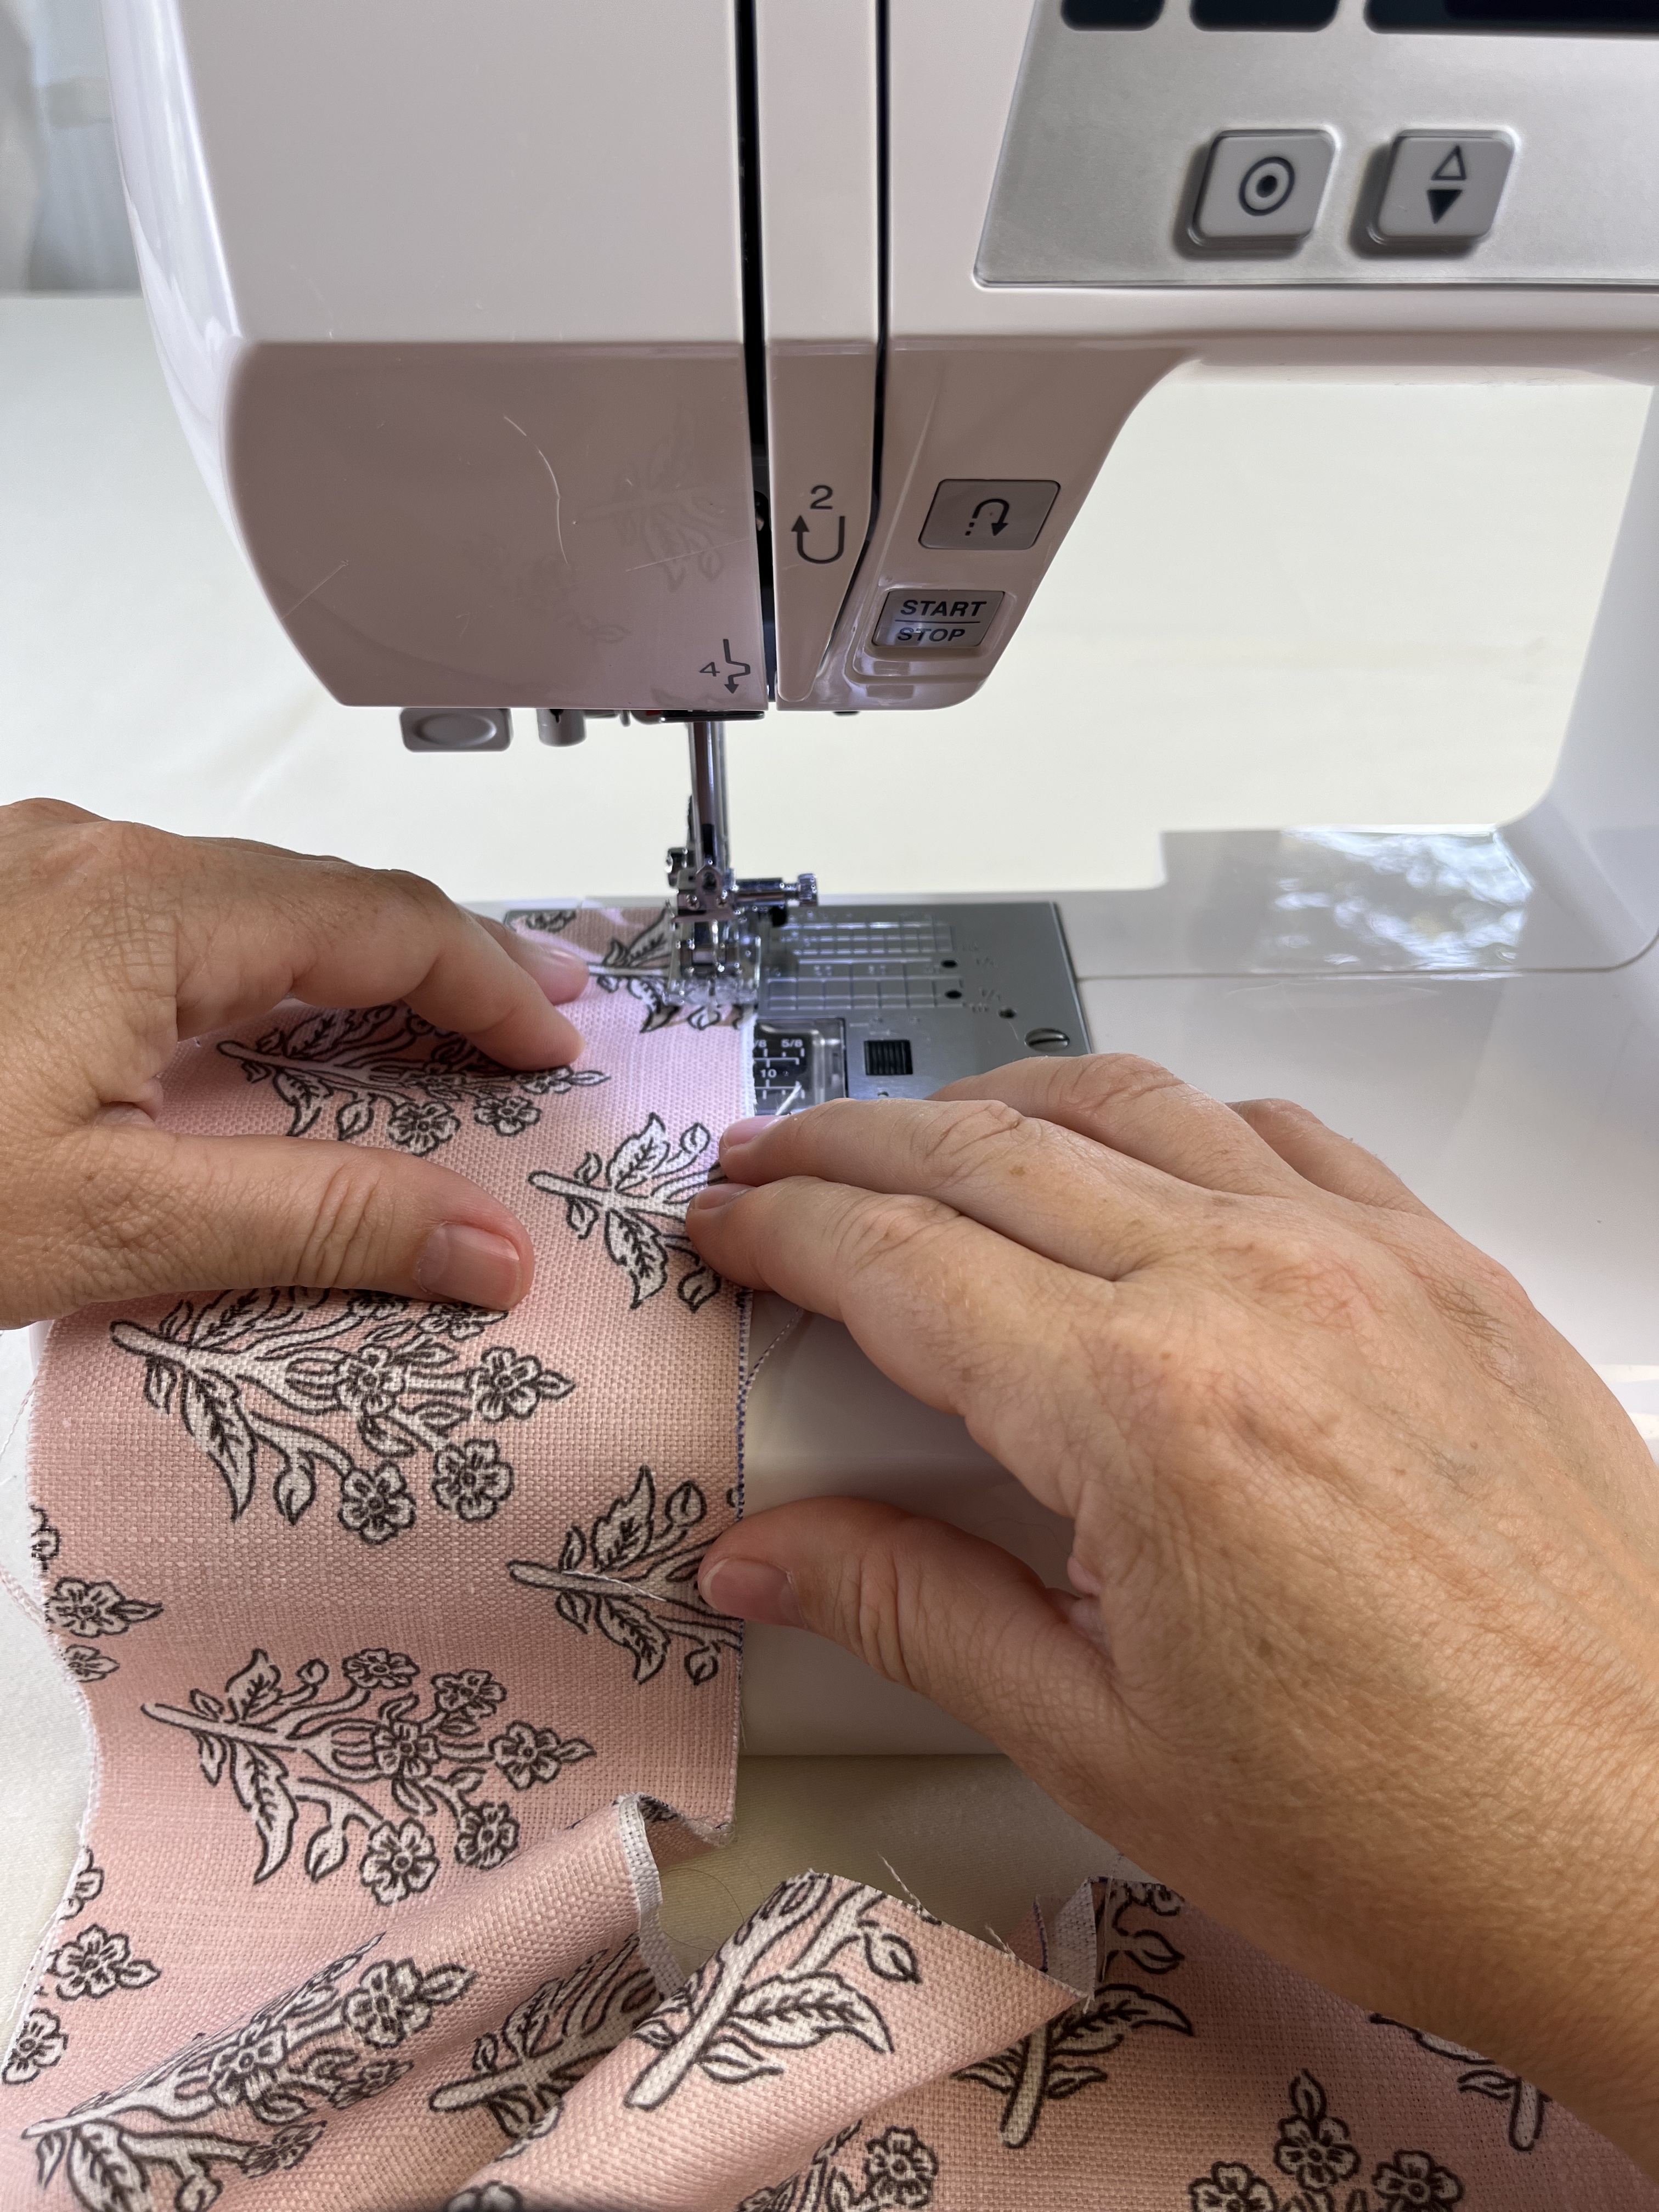
At the start of the course, you will learn how to thread a machine and get started. We will then introduce and practise the skills needed to complete the following carefully graded projects where I will be on hand to demonstrate these and take you through any tricky bits:
Project 1: Reversible Tote Bag
Project 2: Pin Cushion with Oxford Border
Project 3: Envelope Cushion with Loop and Covered Button Fastening
Project 4: Flat, lined zip-up makeup (or similar) bag
Skills you will learn:
- Threading your machine (including filling the bobbin)
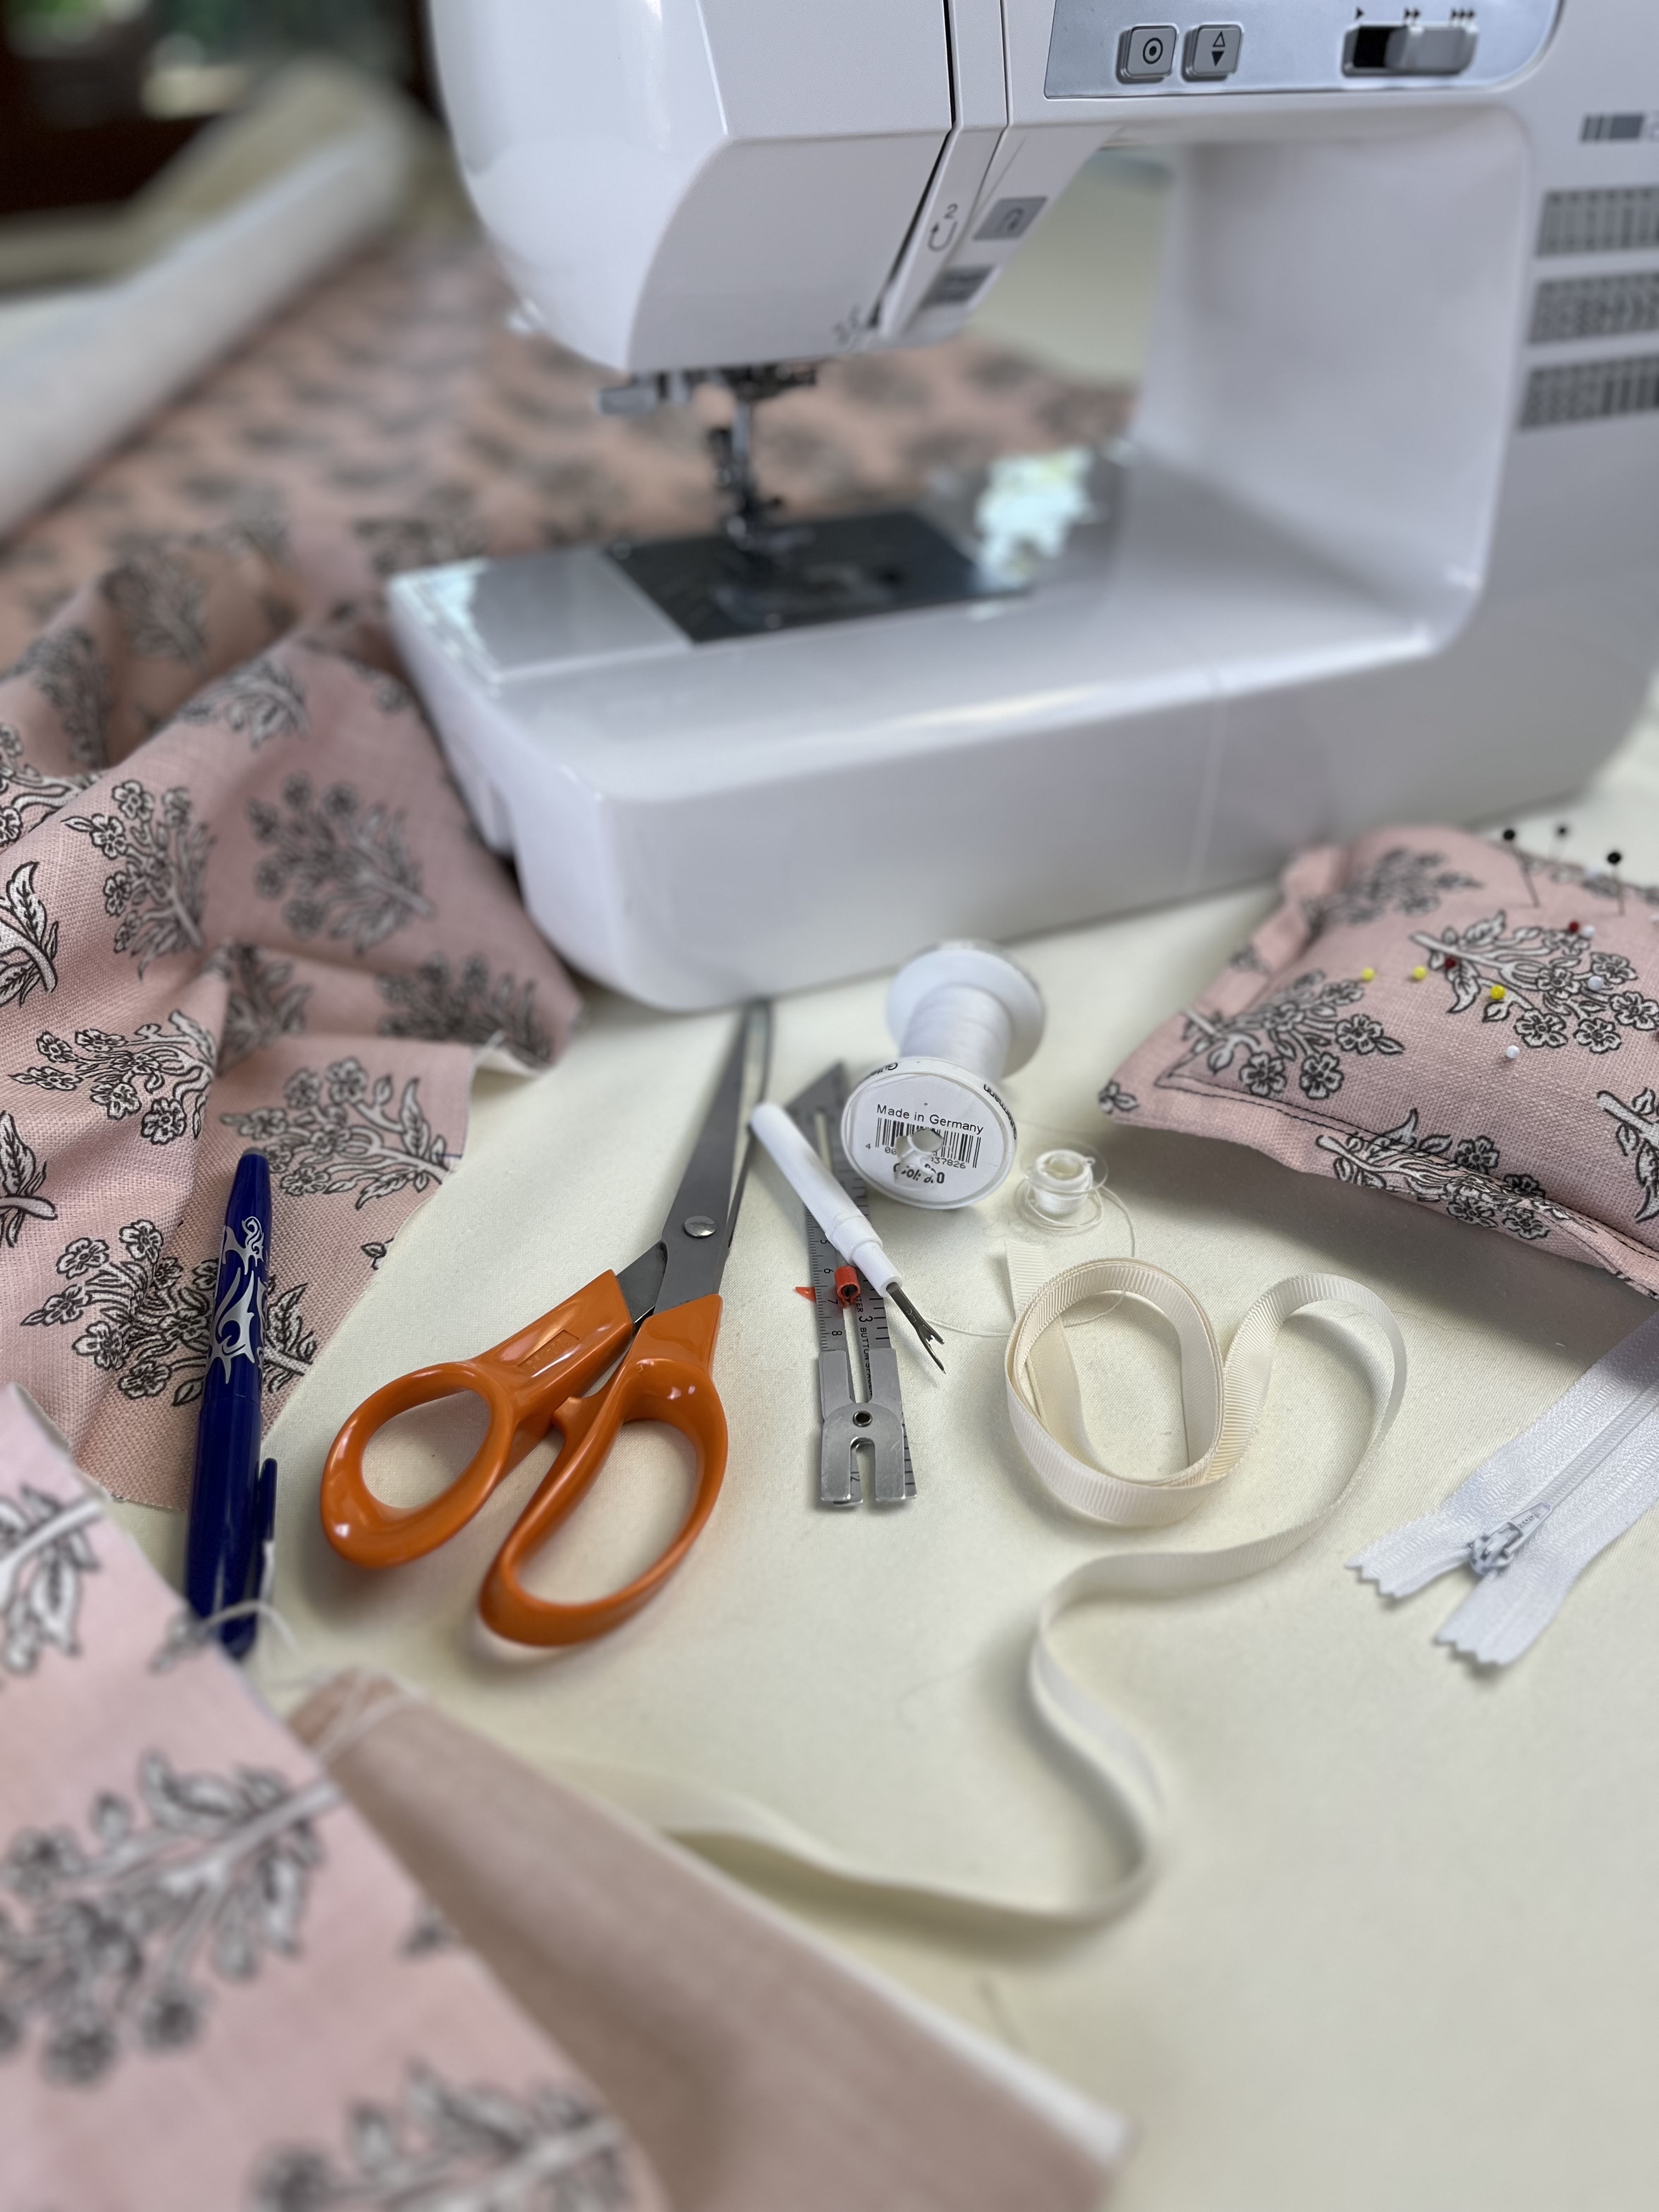
- Accurately measuring, marking and cutting your fabric with essential tools
- Sewing forwards and backwards
- Turning corners
- Your iron is your friend
- Changing and using sewing feet (normal and zipper)
- Choosing fabric and looking at how to place pattern in a project
- Inserting a zip
- Making your own covered buttons
- How to neatly start and finish off seams
- Stitch length and when to change it
- Hand sewing hem or ladder stitch to 'close the gap'
- Sewing a button on
- Complete confidence in ALL the basics so you can happily go on to design and make your own soft furnishing projects
- Be ready to sign up for Curtains, Roman Blinds or Box Cushion courses!
Alongside the main four projects, in addition in this Standard Package, there are extra extension ideas to expand each project even further so you can remake each project to incorporate different and more advanced features. These four first projects will then become many more as you learn to create and implement your own ideas.
Does this course feel the right match for you? Or are you still not sure? This is the Standard Package of the Beginners Course, so if you are looking for more help and support you would benefit from the Premium Package of this course which has extra help. If you would like to get in touch to have a chat with me, then please do via the Contact Page on the website and I will be happy to talk through any questions you may have.
Introduction and overview of the four main projects in the Beginners Course - Standard Package
Overview of Projects 1-4
In this video Sarah gives you an overview of the course and four projects you will make on the course and what is included in this Standard Package.
Project 1: Reversible Tote Bag
Project 2: Pin Cushion with Oxford Border
Project 3: Envelope Cushion with Loop and Covered Button Fastening
Project 4: Flat, lined zip-up makeup (or similar) bag
In this Standard Package there are all the videos on how to make the above four projects.
In addition, there are extra videos to show you how to extend the original project to make a more advanced version with added techniques and features when you make it a second time around.
Video 1Project 1: Reversible Tote Bag
Project 1: Reversible Tote Bag. Video 1: Overview of the project and how to measure and cut your fabric
How to use the Quilters Ruler, Large Set Square, Frixion pen to accurately measure out exact 90-degree angles for the rectangles and squares of fabric needed for each project.
The methods shown in this video will be used throughout the course.
Video 1
Video 2: Copying 1st piece as a template
How to use one cut piece as a quick template for the other pieces you need.
Looking at the placement of any template so the pattern is exactly the same on each piece especially along the top edge in this case.
Video 2
Video 3: Measuring and cutting the main flowery fabric
How to approach the pattern on a 'busy' design before marking and cutting.
Fabric isn't always printed exactly straight so bear this in mind and 'go with the pattern' rather than try to just cut a square. For example, place your quilters ruler along a line of flowers or birds or trees and check that all the tops of the birds or trees are going to be cut at the same point. Draw this line first as if it will be the top edge of the fabric you cut, so you know that the pattern at the top of your fabric is even; then you can draw all the other lines downwards from there.
Video 3Video 4: Measuring and cutting the fabric for the handles
I am suggesting and showing you how to make the handles out of just one of the fabrics. You can, of course, make your handles out of both the main fabric and the lining fabric, but for now, let's just keep things simple!
Video 4Video 5: Getting all the pieces together
At this point, gather all your pieces together in front of you and put a pin in the top middle of the right side of each piece you have cut.
This will help you when you come to assemble everything together.
Right sides = the nice printed/patterned side. If plain, make sure you pin the fabric on the right side or same side as even plain fabric can look different depending on which side you are looking at.
Wrong side = the back of the fabric.
Video 5Video 6: Folding and pressing the handles
Having an iron to hand (I generally use mine without water in so it doesn't suddenly spurt out dirty water on my beautiful work!) is a must. I have my ironing board set up too for when I'm making small projects.
Your iron is your friend when sewing as you can press folds to sit exactly where you will want them before sewing. This helps enormously as the fabric will already be sitting neatly before you sew it.
Video 6Video 7: Sewing the folds of the handles
If one edge of your handle sits alongside the edge of the metal foot, this will sew a line approx 1cm from the edge.
Check the grooves and numbers on the metal plate as these show 1cm, 1.2cm, 2cm seam allowances. Seam allowance is the small width of fabric with the frayed edges which sits to the right-hand side of the line of sewing you are about to sew.
Lesson 8: Measuring and marking where the handles will be sewn on
Whatever marks you make on the right-hand side, mirror these on the left-hand side.
Video 7Video 8: Measuring and marking where the handles will be fixed
Whatever marks you make on the right-hand side, mirror these on the left-hand side.
Video 8Video 9: Sewing the handles in place
Make sure your handles aren’t twisted at this point. They will curve but not be twisted.
Video 9Video 10: Pinning and sewing the lining and the main fabric together
Make sure the lining sits exactly on top of the main fabric - both vertically and horizontally eg exactly on every side!
Video 10Video 11: Opening out and pressing the seams and seam allowances flat
An important bit of ‘housekeeping’ so that all the seams (seam allowances eg frayed edged part of the fabric) sit open and flat before you move on.
Video 11Video 12: Sew the main fabric into bag shape
If there are a lot of layers, try starting ahead of them and go backwards before coming forwards. Try to start as high up here as possible and make the beginning of this seam as secure as possible by going backwards and forwards at the start a couple of times.
Video 12Video 13: Sew lining into bag shape with opening
Try to start and finish as close to the top of the lining near the edges of the zip as possible.
Video 13Video 14: Tidying up and finger press all seams open and flat
Again, time to do some tidying up so snip off any loose threads and either finger press these new seams out flat or use the point of your iron. A bit of gentle manipulation is needed here.
Video 14Video 15: Measuring, marking and making the flat bottom corners
Your quilters ruler will be very useful at this point.
Video 15Video 16: Sewing across the triangular corners and trimming
Make sure all the seams are sitting open and out flat before sewing across these corners.
Video 16Video 17: Checking the bottom seams and the last lines of sewing to do
Not far to go now!
Video 17Video 18: Pinning and sewing the bottom gap closed
Press the seam allowances into place by tucking them inside and pressing them flat together.
Video 18Video 19: Sewing the top stitch around the top edge of the bag
Pin the two layers so the top edge with both the main fabric and the lining is really even and not showing the lining from the outside.
Video 19Video 20: Summing up the final product, Ta-dah!!
Well done! You've made it! Literally!
Video 20Extension Ideas for each of the four projects overview and ideas for Project 1
Overview of the Extension Ideas for the four projects
In this video Sarah shows you the kinds of extras you can incorporate in your next make of any of the four main projects in the Beginners Course.
Video 1Video with Extension ideas for Project 1
This video shows you how to adapt the instructions for Project 1 to make it in a slightly different way with added features.
You will need to follow the basic instructions for Project 1 and alter the project to incorporate these added features.
Project 2: Pin cushion with Oxford border
Pin cushion: Video 1: Measuring and cutting the fabric
Using the same tools and techniques as with Project 1, now apply the same to measuring and cutting the pieces for this project.
Video 1Video 2: Marking and pinning the base of the pin cushion
In this video you will be marking and pinning the seam along the base of the cushion using the same tools and techniques.
Video 2Video 3: Sewing the two base pieces together
In this video you will be sewing along the seam you have marked, leaving a gap halfway along and finishing off the seam further on.
You will see how you can simply draw the fabric forward without snipping off the threads and then start sewing again further on... just time saving hack.
Video 3Video 4: Tidying up and pressing
At various stages you need to snip threads and tidy up fraying edges with your scissors.
You can snip the threads close to the fabric. When sewing a seam, you can go forwards and backwards at the beginning so that the stitches are secure but you don't need to do this all the time if you are going to sew other lines of sewing across them as this will secure them later on.
Video 4Video 5: Marking and sewing the base layers together
In this video you will be marking and sewing the base pieces together.
Video 5Video 6: Turning it all inside out and pressing
At this stage you will start to see the cushion taking shape. There is a knack to making sure the seams are all sitting on the outer edges of the square you have sewn. By pinching the fabric out or rolling it back and forth between your fingers you can bring each seam right to the outer edges. Tricky to explain in words but I hope you get the idea!
Video 6Video 7: Sewing the 1st border of top stitching to Oxford border
In this video you will be sewing the first line of top stitching to create the Oxford border. Top stitching is essentially a term for stitching which will specifically show on a project rather than a hidden seam as part of the construction.
Jeans, for example, have a lot of top stitching on them, on the pockets etc for effect.
Video 7Video 8: Sewing the second border of top stitching
Depending on the fabric you are using or personal preference, you don’t have to do two lines of top stitching but you can if you like. It’s a good exercise in sewing straight lines close to each other and turning corners. Also starting and finishing neatly at the same point as the other line of sewing.
Video 8Video 9: Stuffing the cushion
You can use any kind of stuffing for this; it could be cut up pieces of old sheets or similar but the best stuffing would be microfibre which you can buy online (for stuffing toys with).
If you have an old cushion pad you can open that up and use the stuffing from there. I have a large stash of stuffing from an old mattress topper which was so uncomfortable! Nice to be able to reuse it.
Video 9
Video 10: Putting the cardboard inside
In this video you can see that we need to insert a piece of cardboard inside the pin cushion so that it sits on the bottom of the cushion. This cardboard will prevent the pins from coming through the cushion and pricking you all the time!
A bit of rolling and unrolling here is the trick: you are the boss!
Video 10Video 11: Sewing up the gap with hem or ladder stitch
Showing you different ways to sew the gap in your pin cushion. I would recommend the hem stitch above the ladder stitch as it is probably more secure but the choice is yours!
Video 11Video 12: Optional ladder stitch to sew up the gap
This video shows you how to do ladder stitch which could be an alternative way to sew up the gap! Ladder stitch is used to sew the folds when making a mitred corner on the lower corners of curtains but could also be used here.
Note re extension ideas for this project: This exact project can simply be upscaled to fit a larger cushion pad. Ultimately you can also insert a hidden zip instead of just sewing up the gap - the technique for inserting a hidden zip is a fabulous thing to learn and is included in the Piped Cushion with Hidden Zip Course which is coming soon online!
Video 12Project 3: Envelope Cushion with loop and covered button
Project 3: Envelope Cushion with button and loop. Video 1: Layout for measuring and cutting
In this video we will look at the dimensions of the fabric to cut and draw them out. As ever, using the tools and techniques you used in the previous projects.
Video 1Video 2: Placement of pattern
In this video we take a look at how the pattern on your fabric will look when you have sewn all the pieces together. Understanding where to cut is key to making a really good-looking project.
Video 2Video 3: Making the loop
In this video you will be folding and pressing the small piece of fabric for the loop.
Video 3Video 4: Sewing the loop and folding it
In this video you will be sewing the fold on the loop of fabric and making sure you have folded it correctly so it is ready to sew in place.
Video 4Video 5: Marking and pinning where the loop goes
In this video we will be measuring and marking where to attach the loop.
Video 5Video 6: Sewing the facing and loop onto the top fabric
Here you will be assembling the top 'fold' of your envelope cushion together. The main fabric, the loop and the facing which will fold back underneath the main fabric.
Video 6Video 7: Checking pattern and placement of top and facings
The facings are fabric strips we are sewing onto the leading edges of the two top pieces of your envelope cushion cover. These give stability and thickness to the cushion cover. When making this cushion cover with button holes (future extension idea) the thickness is important when making the buttonholes.
Video 7Video 8: Zigzagging the facing edges
In this video you will learn how to ‘bind’ the fraying edges of your fabric by using the zigzag stitch.
Video 8Video 9: Assembling and pinning the cushion together
Now we can start to put all the pieces together in the right order.
Note: Make sure the top piece is siting straight 'vertically' so it looks good when everything is turned inside out!
Video 10: Sewing the layers together all the way round the edges
There will be a lot of thicknesses in places where all the fabric and facings are sitting on top of one another but your sewing machine should be able to get through all these layers. Don't try to go fast over these areas! Take your time and if needed you can 'help' the needles go into the fabric by manually turning/rolling the wheel on the side of the machine (always roll towards you - anticlockwise).
If you get an error code coming up on the mini screen, don't panic; simply turn the machine off and then on again and try again!
Video 10Video 11: Trimming the fraying edges ready for zizagging
Now that the cushion cover is sewn together, it just needs some tidying up along the edges to stop them fraying and make them look neat.
Snip all loose threads off and cut only fraying edges off. Leave the seam allowances at 1.5cm if you can as this will be easier to zigzag and the seam allowances will sit fine inside the cover.
Video 11Video 12: Zigzagging and empty bobbin alert!
Here you will see how to zigzag all the way round the outer edges. Whilst filming this video, the bobbin thread ran out so I have kept this piece in as a reminder that this can often happen if you aren't keeping an eye on the bobbin! I have frequently continued sewing whilst unaware that the bobbin had run out and therefore the machine was only making a long line of dots in the fabric and not sewing!
Video 12b: Turning the cover the right way round and starting to make the button
You can now start to make the covered button by choosing the look you want for it when it is finally sewn on.
Think about the final look of the button when it has been sewn in place.
Video 13Video 13: Making the covered button
Covering a special plastic button to customise your own button is a little bit fiddly but is definitely worth it for a really nice consistent look on your cushion. It's easy when you know how!
In this video you will learn how to gather the fabric to make the covered button.
Video 14Video 14: Stuffing the cushion into the finished cover!
Now you can stuff the cushion into its new cover. Make sure you push and poke each corner of the cushion right into the corners of the cover.
Video 15Video 15: Sewing on the button and Ta-dah!
This is now your finished envelope cushion moment! Once the button is sewn on you will have your very own homemade cushion.
Well done!
Video 16Extension Ideas for the Envelope Cushion Project
Extension ideas for the Envelope Cushion
This video gives you some ideas on how to add different and more advanced features to this project.
Video 1Project 4: Lined zip up makeup (or similar) bag
Project 4: Lined zip up makeup (or similar) bag. Video 1: Measuring and cutting main lining fabric
As with the previous projects this video will show you how to measure and cut the pieces for this project, again using the same technique and tools. This should now be a little easier as you have practised this method a few times now.
Video 1Video 2: Getting your pieces together and preparing the zip ends
This video shows you how to start making the tiny pieces of fabric which will show at both ends of the zip in your final project. If you look at the way zips are put in on washbags and similar bought projects there are a lot of different ways of doing this; I personally like to cover the metal stoppers at the ends of a zip and this method of adding a pop of colour in the fabric you use does just this.
Follow the process and all will become clear!
Video 2Video 3: Sewing the first piece of 'decorative end' fabric onto one zip end
This video shows you how to sew the small folded piece of fabric to one end of your zip. This is quite fiddly but worth it. It's all in the pinning.
When you sew across the zip, the needle will go into the plastic teeth of the zip but make sure you sew away from the metal or plastic stopper.
Video 3Video 4: Sewing the other 'decorative end' fabric onto the other end of your zip
In this video you will see how to sew your 'decorative end' fabric onto the other end of your zip. The closed end of the zip is easiest to add the fabric to, while the top end of the zip is the end which needs a bit of pinning to keep the two sides sitting together.
Video 4Video 5: Overview of sewing with a zipper foot
This video shows you a complete overview of what you will be doing to insert the zip into your bag. In the next videos you will see the exact detail again, step by step as you sew the zip into your bag project.
Video 5Video 6: Sewing one side of the zip in
This video will take you through the steps to sew the first side of the zip in with the zipper foot.
Video 6Video 7: Sewing the other side of the zip in
Follow the step by step guide here to sew in the second side of your zip.
Video 7Video 8: Tidying up and pinning main fabric together
It's important to have a tidy up of loose threads so snip any of these right down near the fabric and snip off any fraying threads. Now you can start pinning the main sides together to form the bag.
Video 8Lesson 9: Sewing the right-hand sides together
When sewing certain seams, it is important to always sew them in the same direction eg from top to bottom. So here you will be sewing the right-hand side from top to bottom and then going on to sew the left-hand side from top to bottom, rather then simply sewing from the top on one side and going all the way round to finish at the top on the other side! By starting at the top each time for each side, the fabric will sit much better and not get 'stretched' in the wrong direction.
Video 9Video 10: Sewing the left-hand sides together
In this video you will see how to start the sewing of the left-hand side at the top - this means you will have to flip the project over so you start to sew with all the main project lying out to the left of the needle.
Note: when possible, make sure you sew with all the fabric of the project sitting to the left of the needle. This avoids you having to fold and push all the excess fabric through the 'gap' which is what will happen if you sew with excess fabric sitting on the right-hand side of the needle. This comes with practise and becomes clear when you put pins in so that you pull them out towards your tummy. Keep practising!
Video 10Video 11: Checking the main fabric turns out ok when pushed inside out at the corners and at the ends of the zip
In this video we take a look at the bag taking shape. I, for one, am too impatient to wait right until the end, so poke the bag the right way round and check all the corners and the zip sit nicely. Worth checking before going any further in case you need to adjust or redo any seams.
Video 11Video 12: Pinning and sewing the lining together
In this video you can sew the lining together by starting at one top edge and going all the way round. This is the lining so it's not so important to start at the top of each side.
Note: Don't forget to leave a gap at the bottom of the lining for pulling it all inside out! If you do forget, you can also leave the gap up one side of the lining!
Video 12Video 13: Snipping threads and turning the whole bag inside out
A bit of tidying up and now to pull the whole bag through the gap in the bottom of the lining. Lots of poking out of corners and poking up of the lining underneath the fabric at each end of the zip.
Video 13Video 14: Sewing up the gap in the bottom of the lining and Ta-dah!
In this video the last seam is the one at the bottom of the lining. Hold the gap flat and press the seam allowances to sit nicely on top of one another so you can simply top stitch across the gap as close the the edge as possible. Sew backwards and forwards to secure the beginning and the end of this line of sewing.
And Ta-dah! One zip up lined bag.
Enjoy!
Video 14Extension Ideas for Project 4
Extension ideas for the zip up bag
This video gives you some further ideas on how to make this bag with different and more advanced features.
Video 1No related materials
There are no related products or courses available for this course.