
Easy Beginners Project - Pin Cushion with Oxford Border
In this course I give you a set of 12 easy-to-follow step-by-step video tutorials to make this simple pin cushion. The entire project is broken down into 12 videos which makes it really easy to go back over any part you aren't sure of. So no guesswork as to where the tricky bit was in one long video!
My students often wonder why we start with this project until they start using it ALL the time!
What you need for this course: A sewing machine loaded with thread that you can work (see Hints & Tips page on this website for blogs on How to Choos a Sewing Machine, How to Thread a Sewing Machine and How to fill the Bobbin on a machine). Light cotton fabric, toy stuffing (or similar), pins, a Frixion pen or marking pen/chalk, thread, a piece of cardboard, needle, tools for measuring and cutting and sharp scissors (see Top 11 Tools I Use All the Time Blog on the Hints & Tips page.
The videos for this project include:
Video 1: Measuring and cutting the fabric
Video 2: Marking and pinning the base of the cushion
Video 3: Sewing the two base pieces together
Video 4: Tidying up and pressing the seam
Video 5: Marking and sewing the top and base layers together
Video 6: Turning it all inside out and pressing
Video 7: Sewing the first line of border stitching to make the Oxford border
Video 8: Sewing the second line of border stitching to make a double decorative border
Video 9: Stuffing the cushion
Video 10 Putting the cardboard inside
Video 11: Sewing the gap closed
Video 12: Optional ladder stitch to close the gap
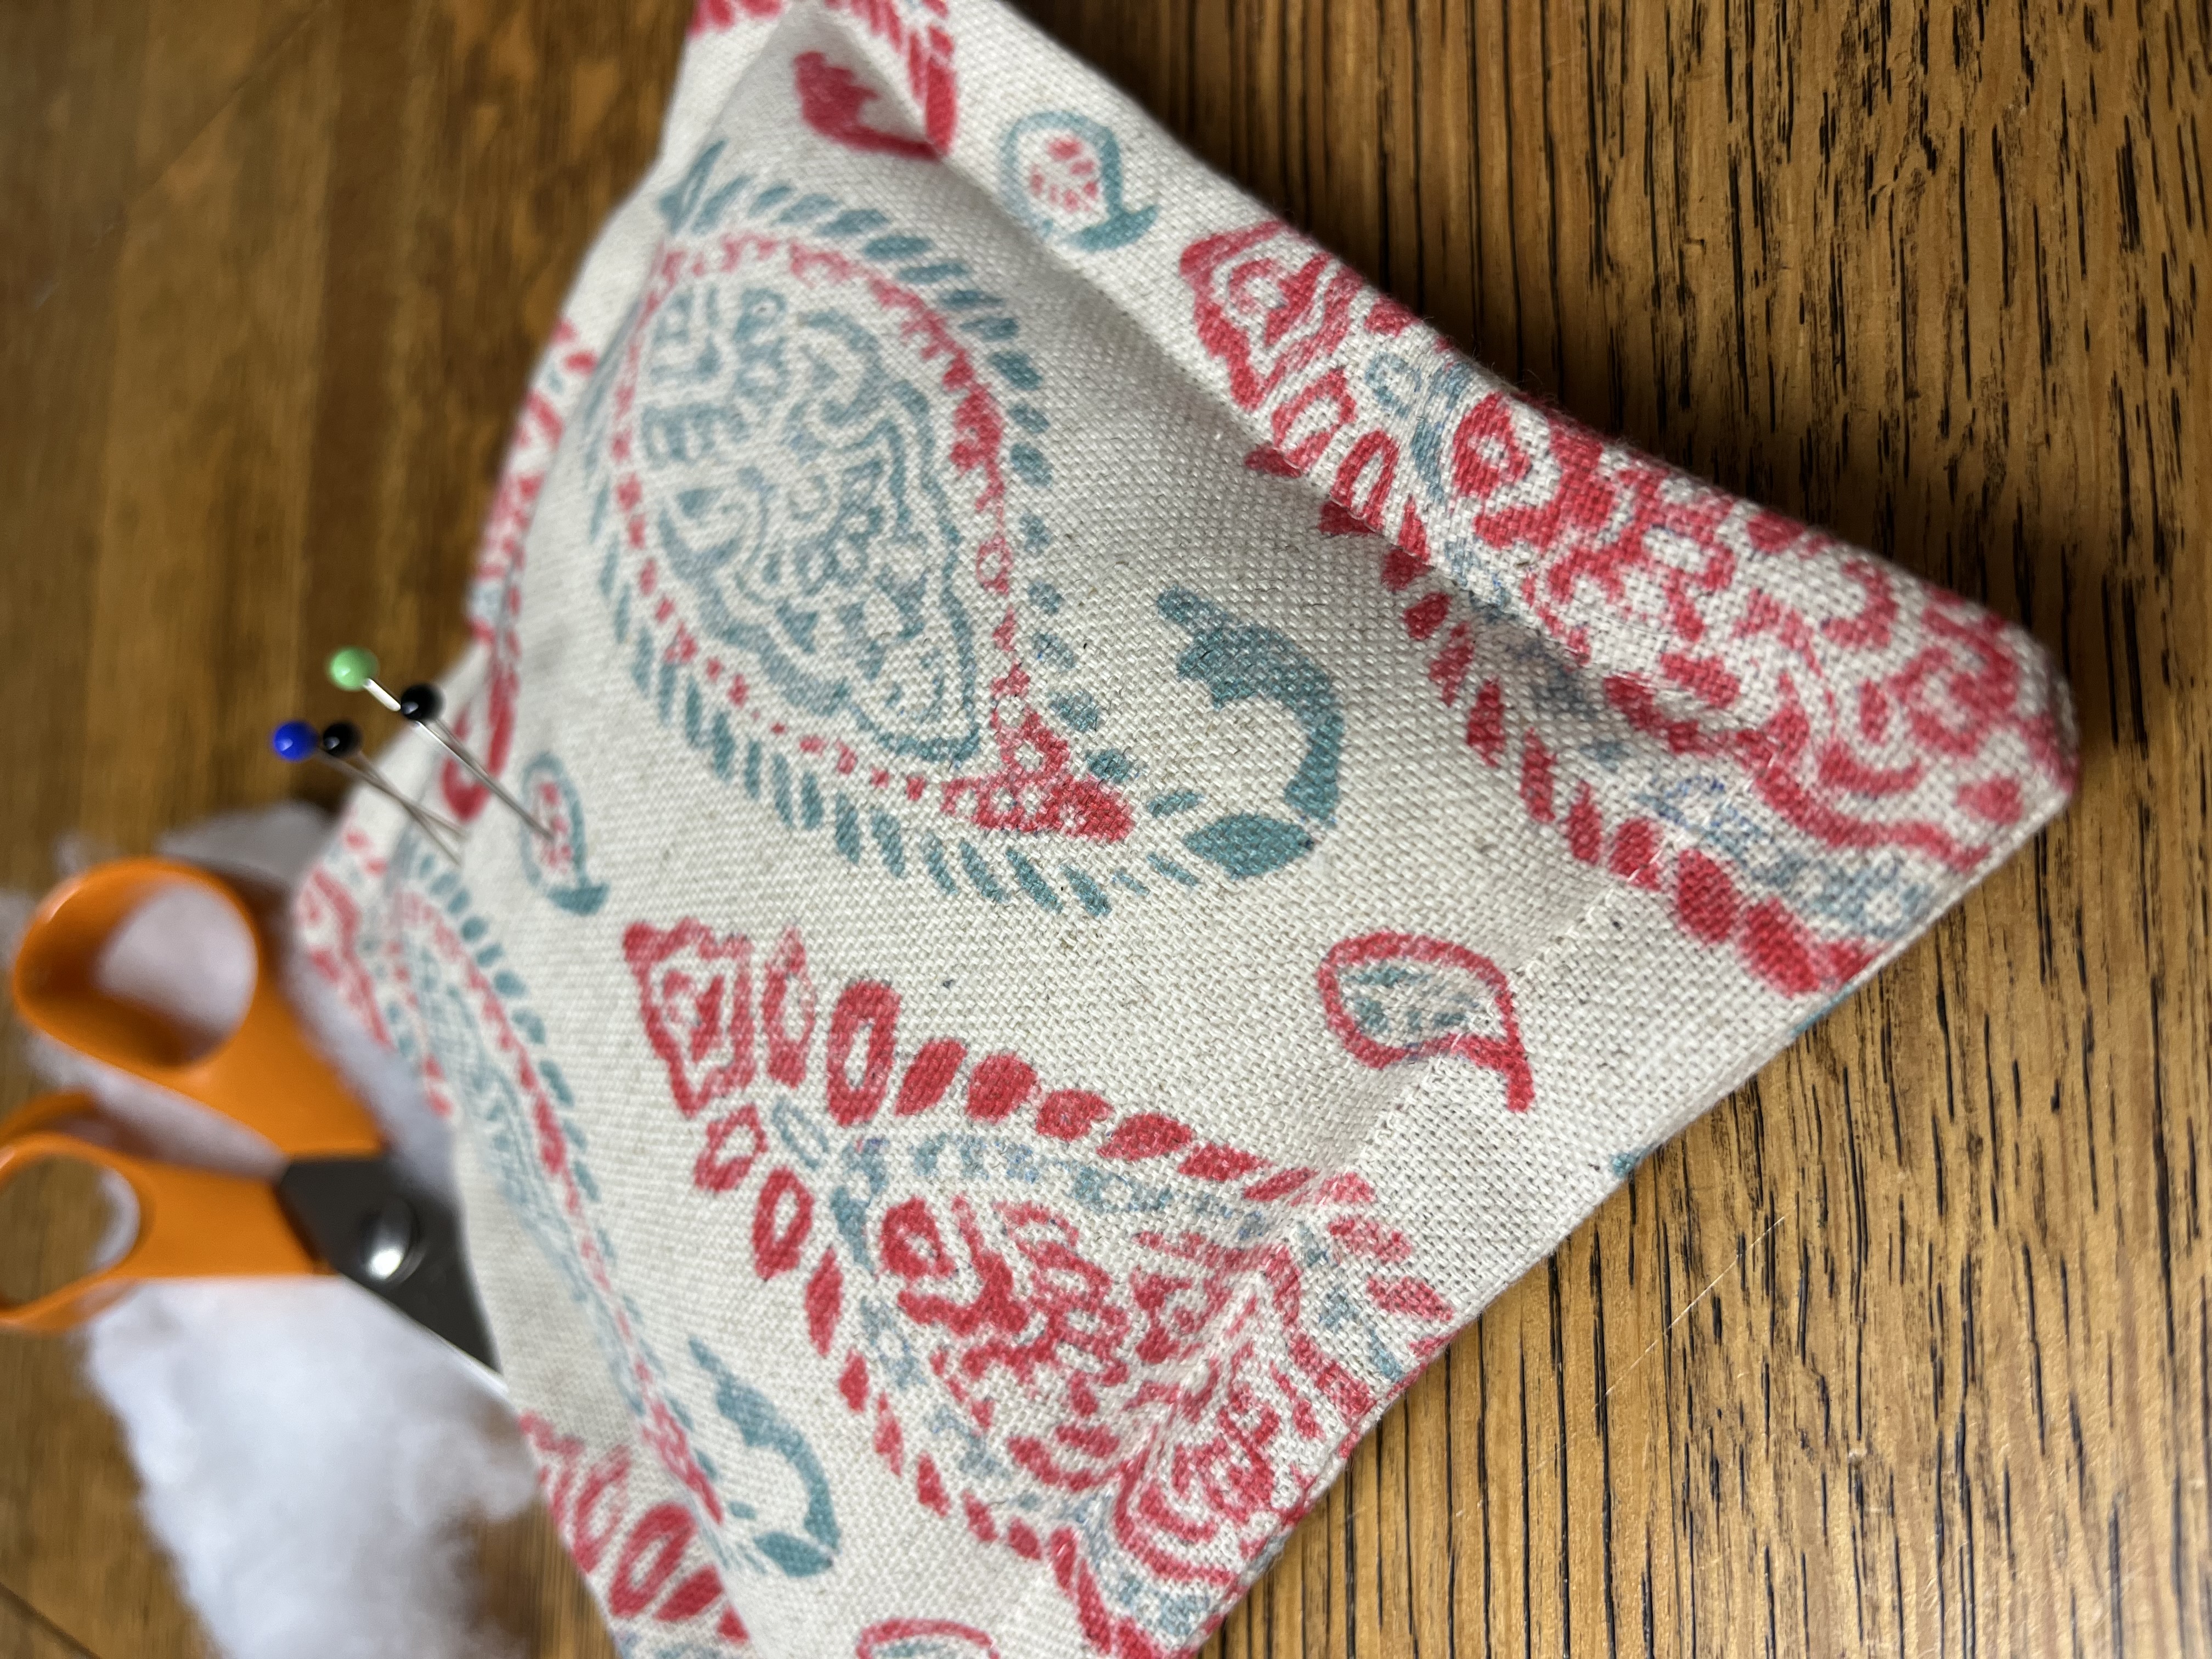
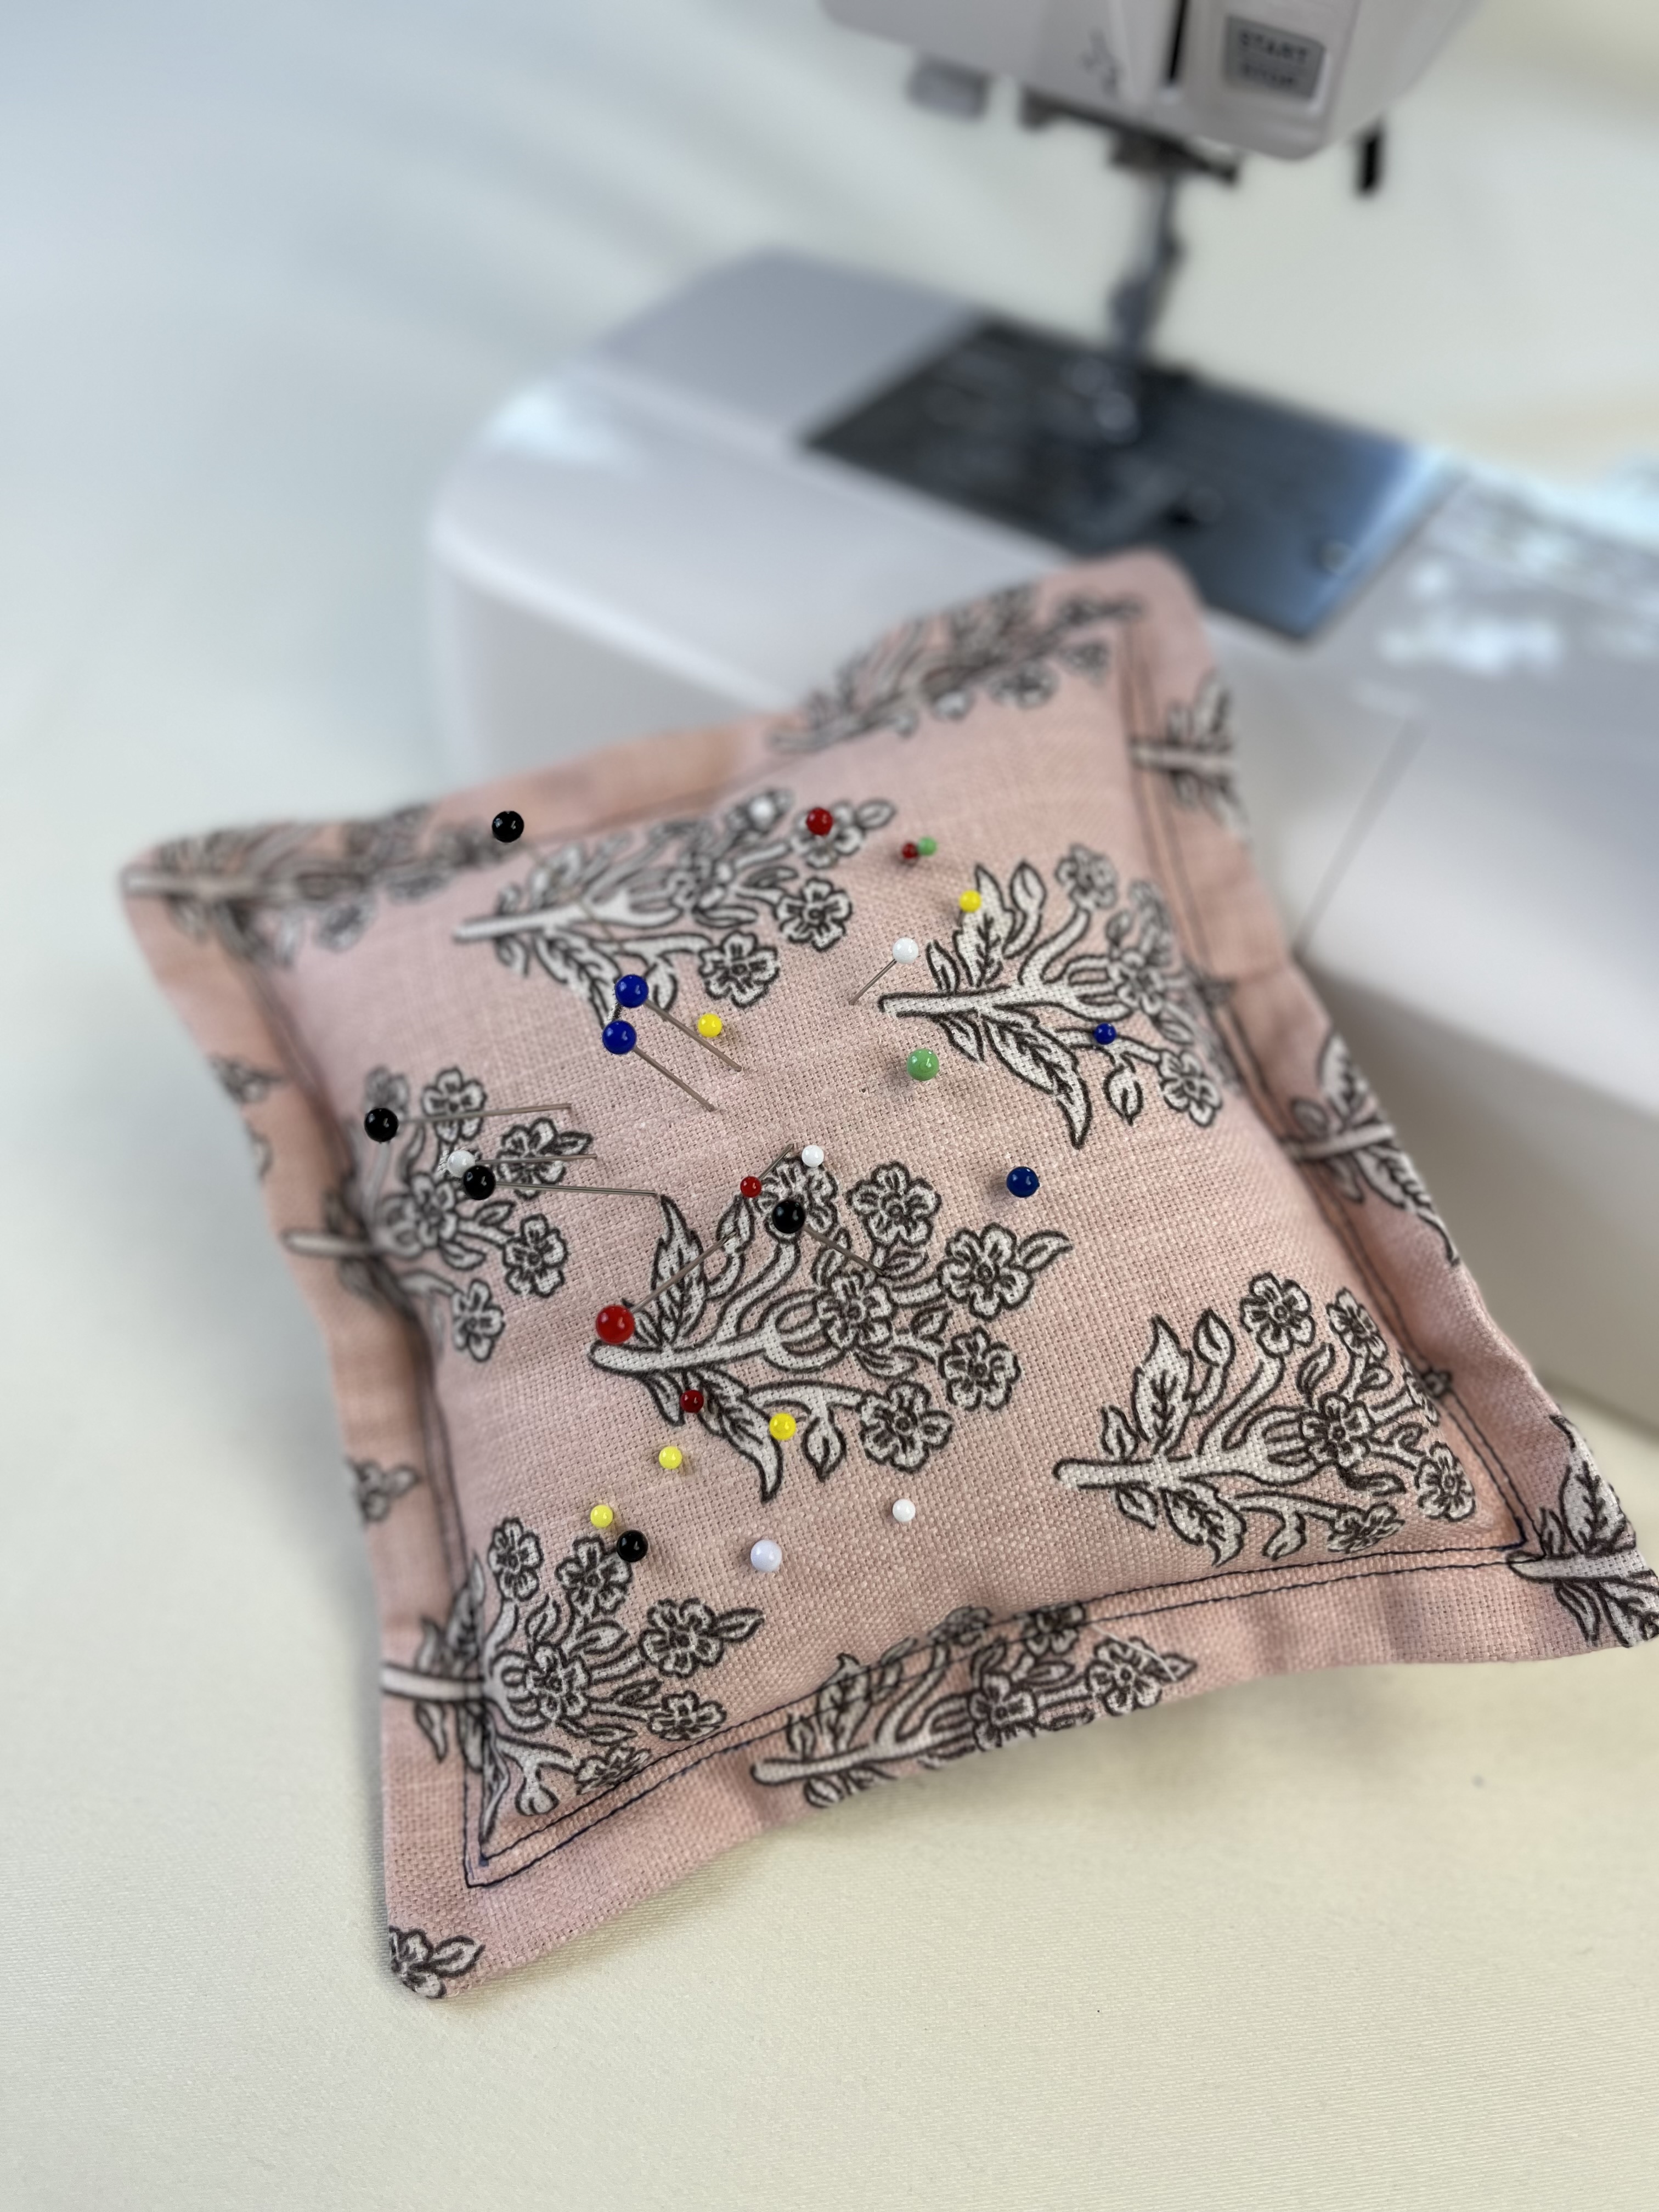
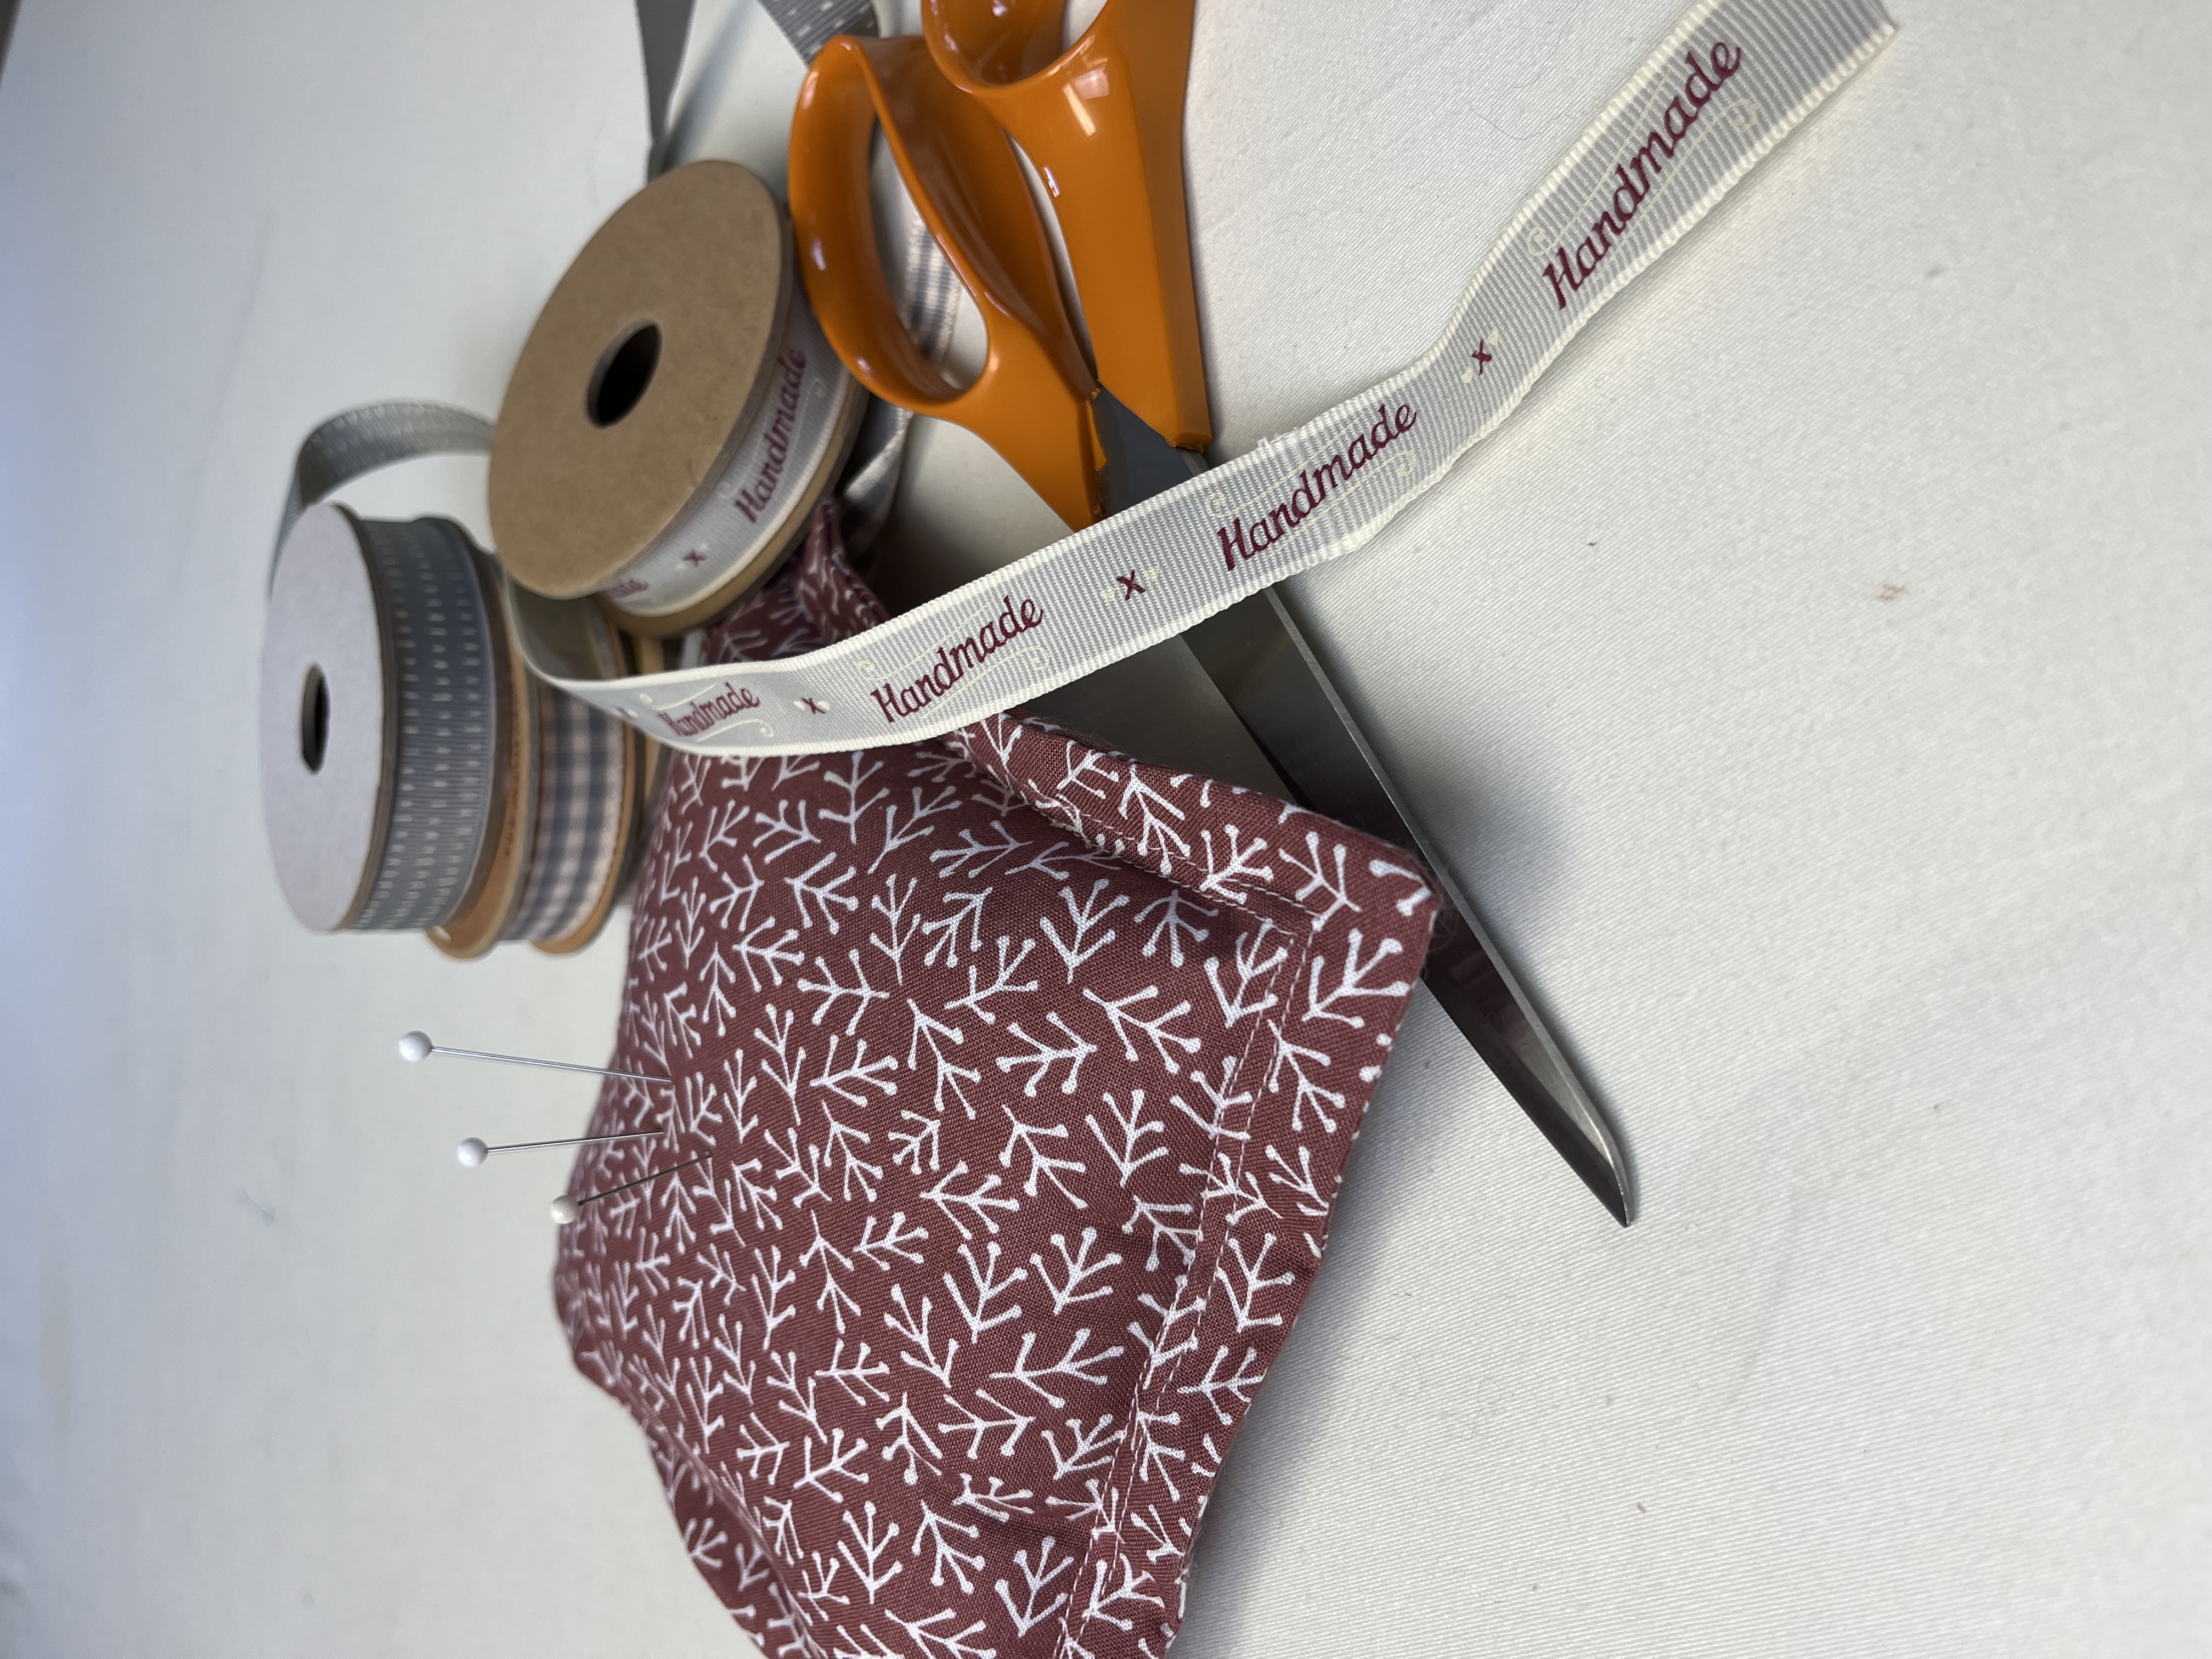
Project: Pin cushion with Oxford Border
Lesson 1: Measuring and Cutting the fabric
For this first part you will need tools to help you measure and cut the fabric. Se on the Hints & Tips page on the website for the Top 11 Tools I Use All The Time. If you don't want to invest just yet in all of these, essentially you need a ruler, an erasable marker pen or chalk and sharp scissors.
Follow the step-by-step video which will take you through measuring and marking your fabric and how to cut it.
Video 1Lesson 2: Marking and pinning the base pieces of the cushion together
You should have three squares of fabric at this stage. Take the two you want to join for the base of the cushion and pin together. Place them exactly one on top of the other with the right sides facing each other ( The right side of the fabric is the side which has the pattern on it). This means the bright pattern from both pieces is placed together. Pin along one edge of this approximately 1.5cm in from the edge.
Video 2Lesson 3: Sewing the two base pieces together
Make sure to leave a gap in your line of sewing so that you can push the stuffing in later.
Top tip: go forwards and backwards 1cm whenever you start or end a line of sewing. This will secure the threads. If you know you are going to make other lines of sewing across this current line, then the securing isn't so important.
Lesson 4: Tidying up loose ends and pressing
You can now trim the excess threads at each end of your line of sewing. Trim these off right next to the fabric. Because we have gone backwards and forwards at each end, the sewing won't come undone.
Now turn the fabric over to have the right side facing down onto the table. You can now iron the seam allowances (these are the two strips of fabric of 1.5cm you have on both sides of your line of sewing. Push both of these over to one side and press. Normally we would open out the seam allowances and press open and flat but here we want both flat to one side. All will become clear later.
Video 4Lesson 5: Marking and sewing the top and bottom layers together
Follow the video which shows you exactly how to place the fabric pieces together to have the opening to one side.
Video 5Lesson 6: Turning the cover inside out and pressing all the edges out
Top tip: have your iron and ironing board out and switched on whilst working on a project as pressing at each stage is really helpful to help the project take shape. Sewing when the fabric has already been pressed is so much easier. The fabric already knows where to sit!
Video 6Lesson 7: Marking and sewing the top stitching to create the Oxford border
Top tip: Start your line of sewing at the middle of one of the sides rather than at a corner.
ALSO: Go slowly when approaching the corner where you are going to turn through 90 degrees as you don't want to go too far. It's better to stop a stitch or two early and turn the fabric, check if you have gone far enough, and if not, simply turn the fabric back and make one or two more stitches.
If you don't trust your foot on the pedal, you can roll the wheel on the side of the machine towards you to make a stitch or two with complete control.
Video 7Lesson 8: Sewing the second border
Top Tip: Watch where the needle is going in all the way round so you keep a steady distance between line 1 and line 2 of the border.
You don't have to do two lines but it's a way of practising those straight lines and corners!
Video 8Lesson 9: Stuffing the pin cushion
You'll be surprised just how much stuffing you can fit inside the cushion but don't make it too firm; it only has to take small pins poked into it!
Poke the stuffing well into each corner too.
Video 9Lesson 10: Putting the cardboard base inside
Use a piece of cardboard for this which is strong enough to stop pins poking through but flexible enough to roll up like a tube to fit in through the gap in the fabric and then open out inside the cushion.
Slot this cardboard in so it sits below the stuffing.
Video 10Lesson 11: Hand sewing the gap
Hem stitch required here.
Ease the two sides of the base so that there is a straight line of fold to sew onto the seam allowance underneath it.
Top Tip: Follow the video, but essentially just make sure what you sew looks neat and is finished off neatly.
This hand sewing will, however, be on the underneath of your pin cushion so won't be seen!
Video 11Lesson 12 Optional: Optional ladder stitch technique to close the gap
Ladder stitch is a lovely neat stitch which you may just want to have a go with! Generally used on mitred corners in curtains... very satisfying effect!Ladder stitch is a lovely neat stitch which you may just want to have a go with! Generally used on mitred corners in curtains... very satisfying effect!
Video 12No related materials
There are no related products or courses available for this course.