
Easy Beginners Project - Reversible Tote Bag with Flat Bottom
This easy project includes a set of detailed easy-to-follow pre-recorded video tutorials which cover every step of the project. Follow each of these in order, and check your progress as you work through each video. You can re-watch any video at any time.
Skills you will learn:
Accurately measuring, marking and cutting your fabric with essential tools
Sewing forwards and backwards
Turning corners
Your iron is your friend
Choosing fabric and looking at how to place pattern in a project
How to neatly start and finish off seams
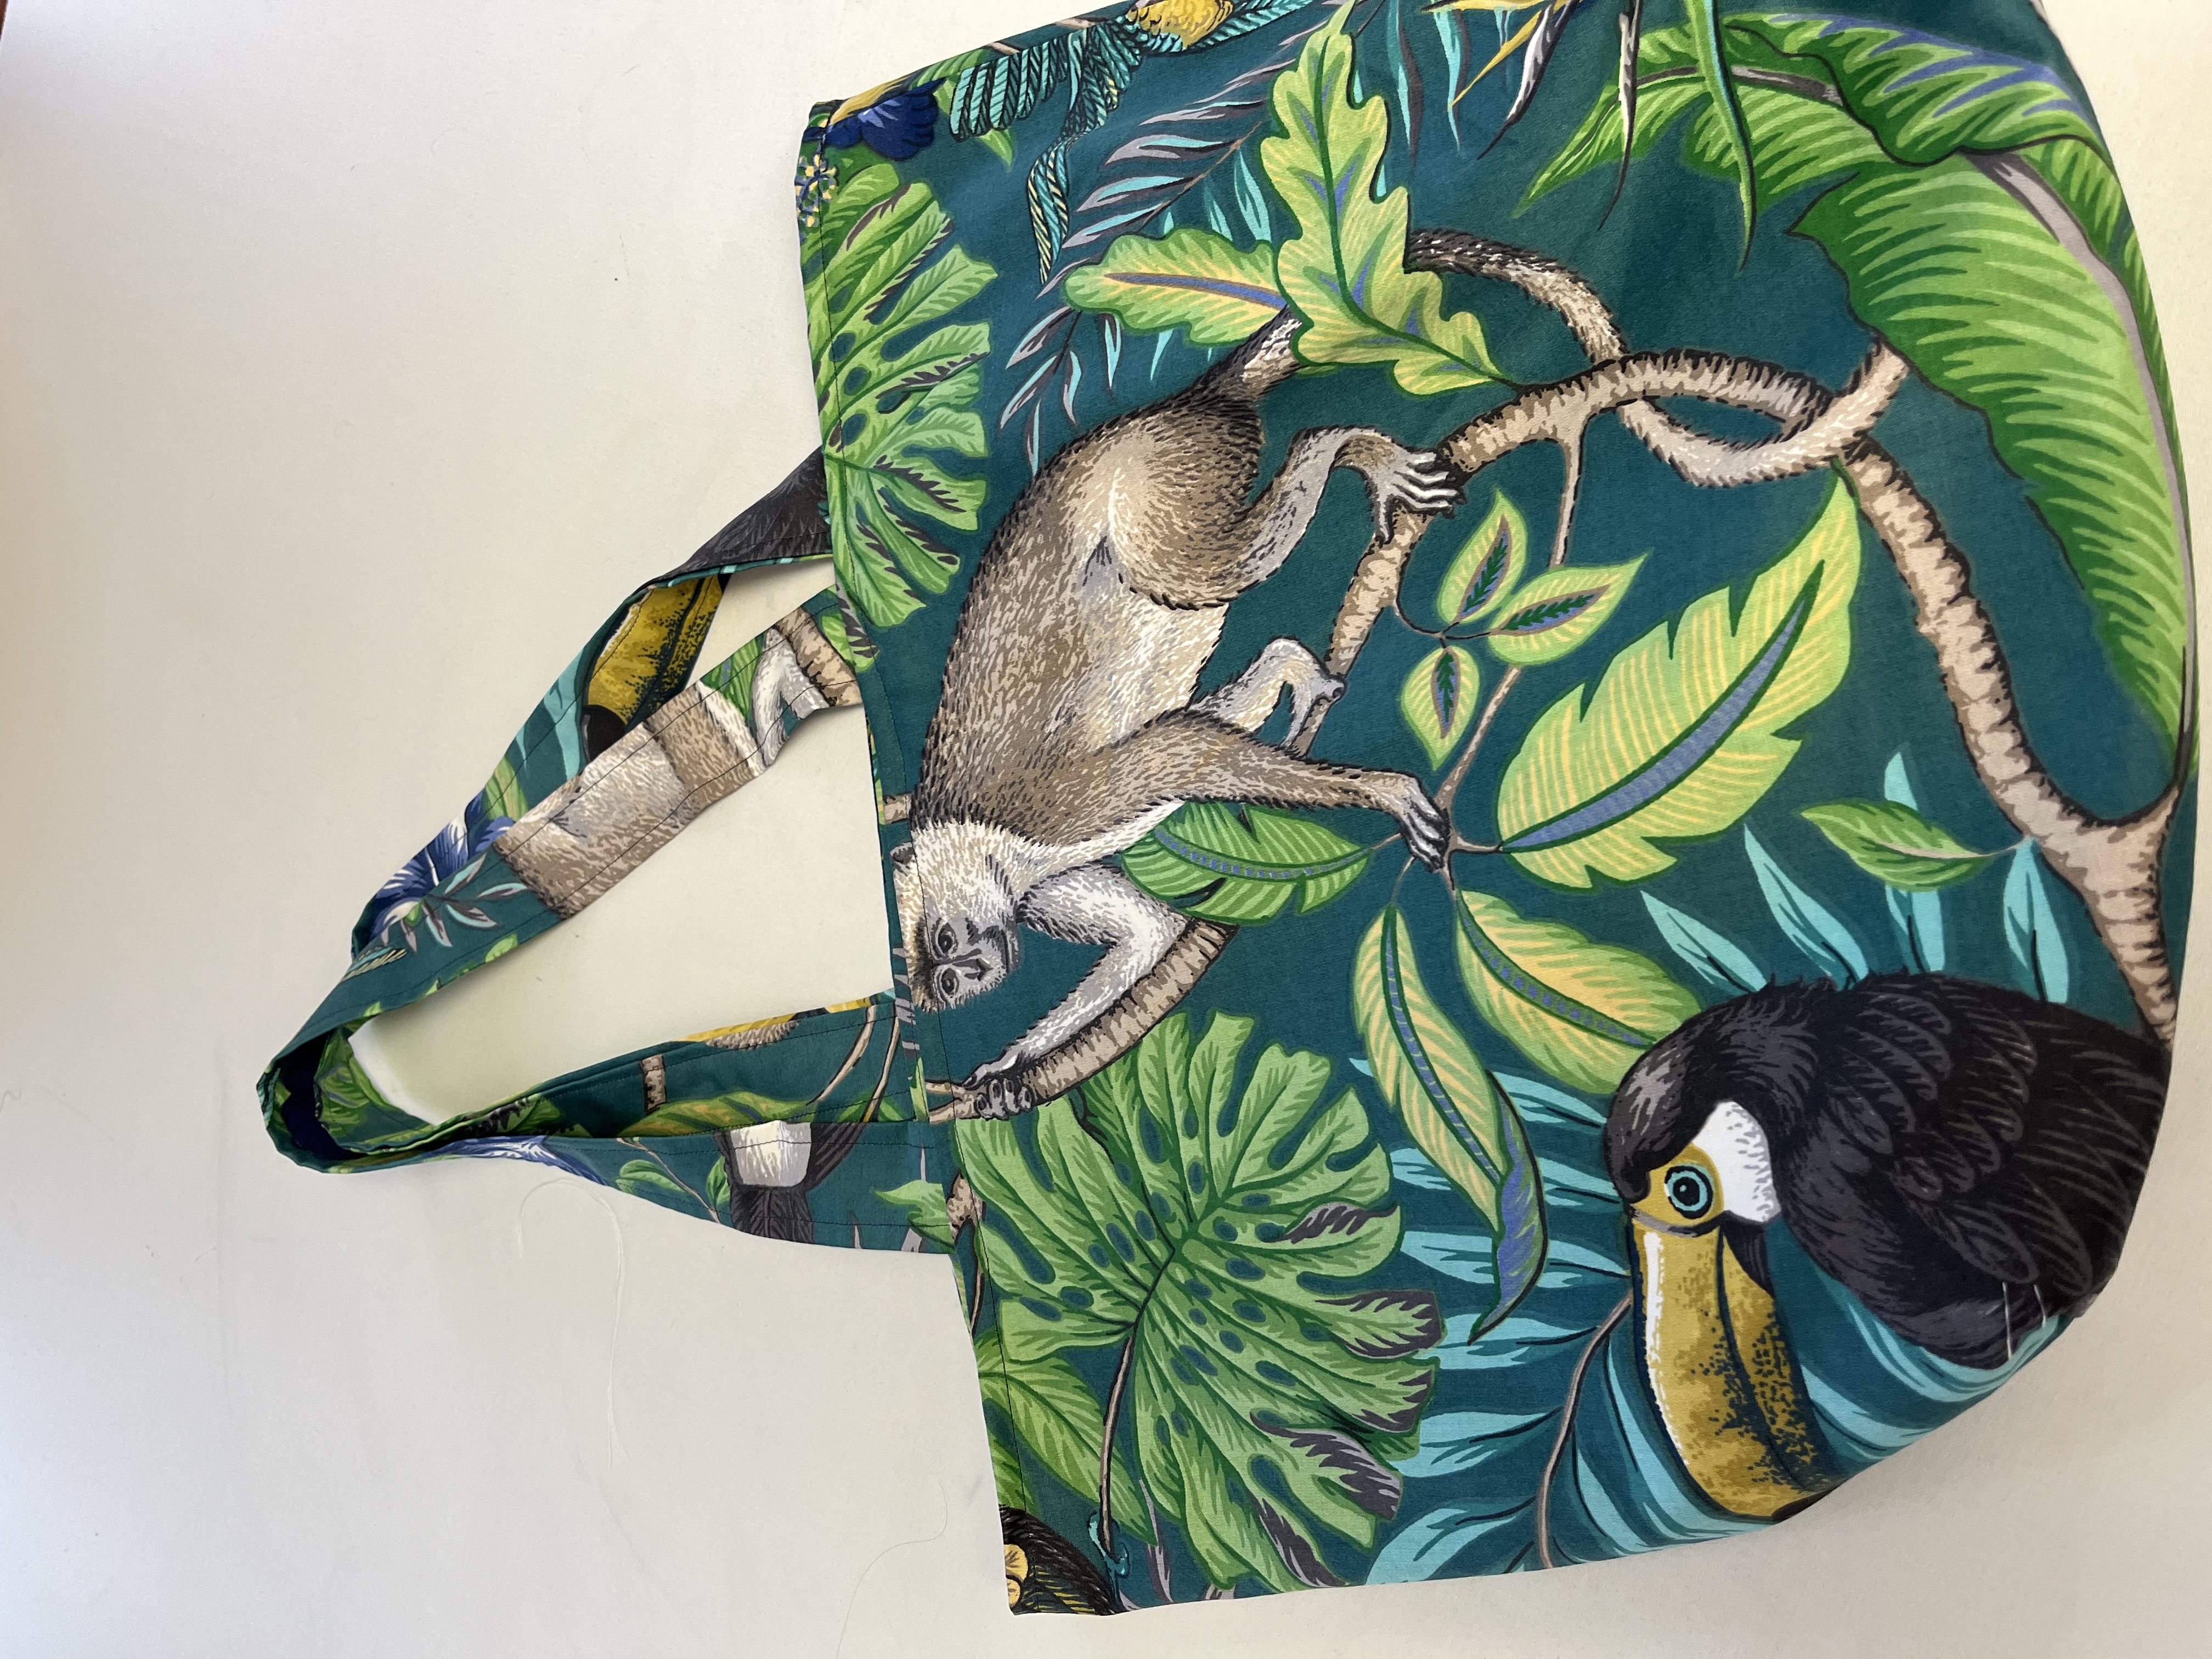
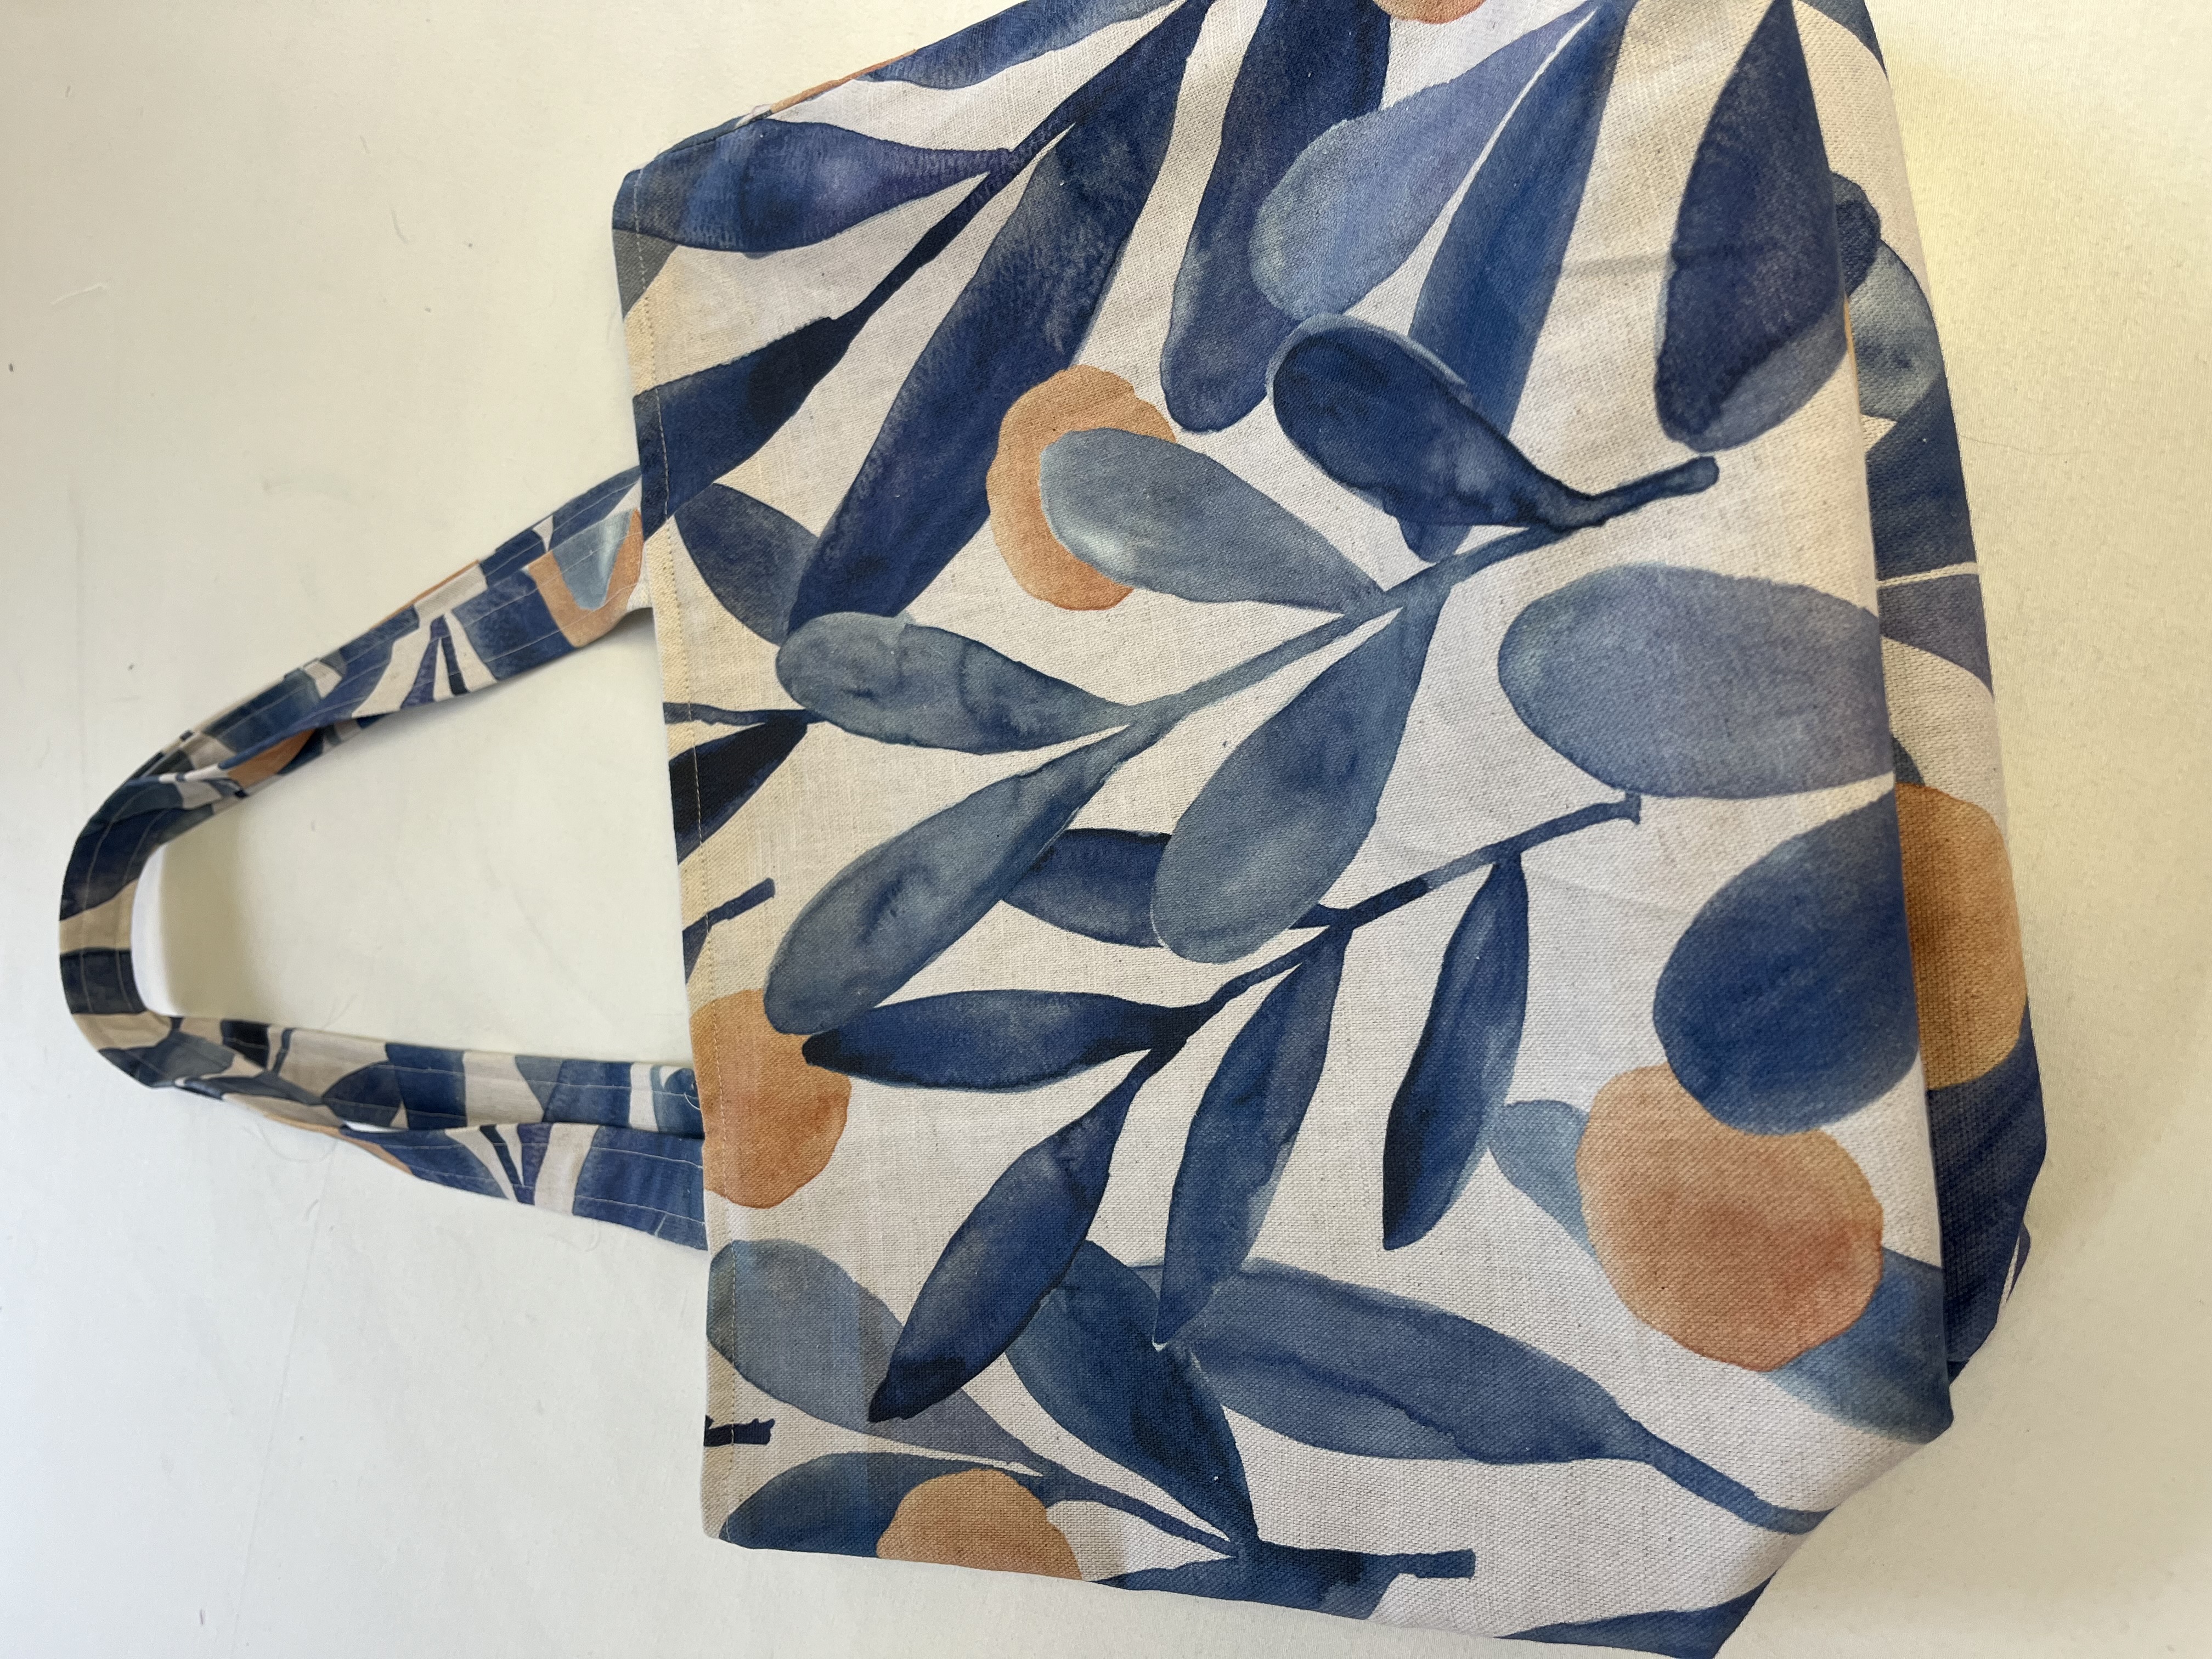
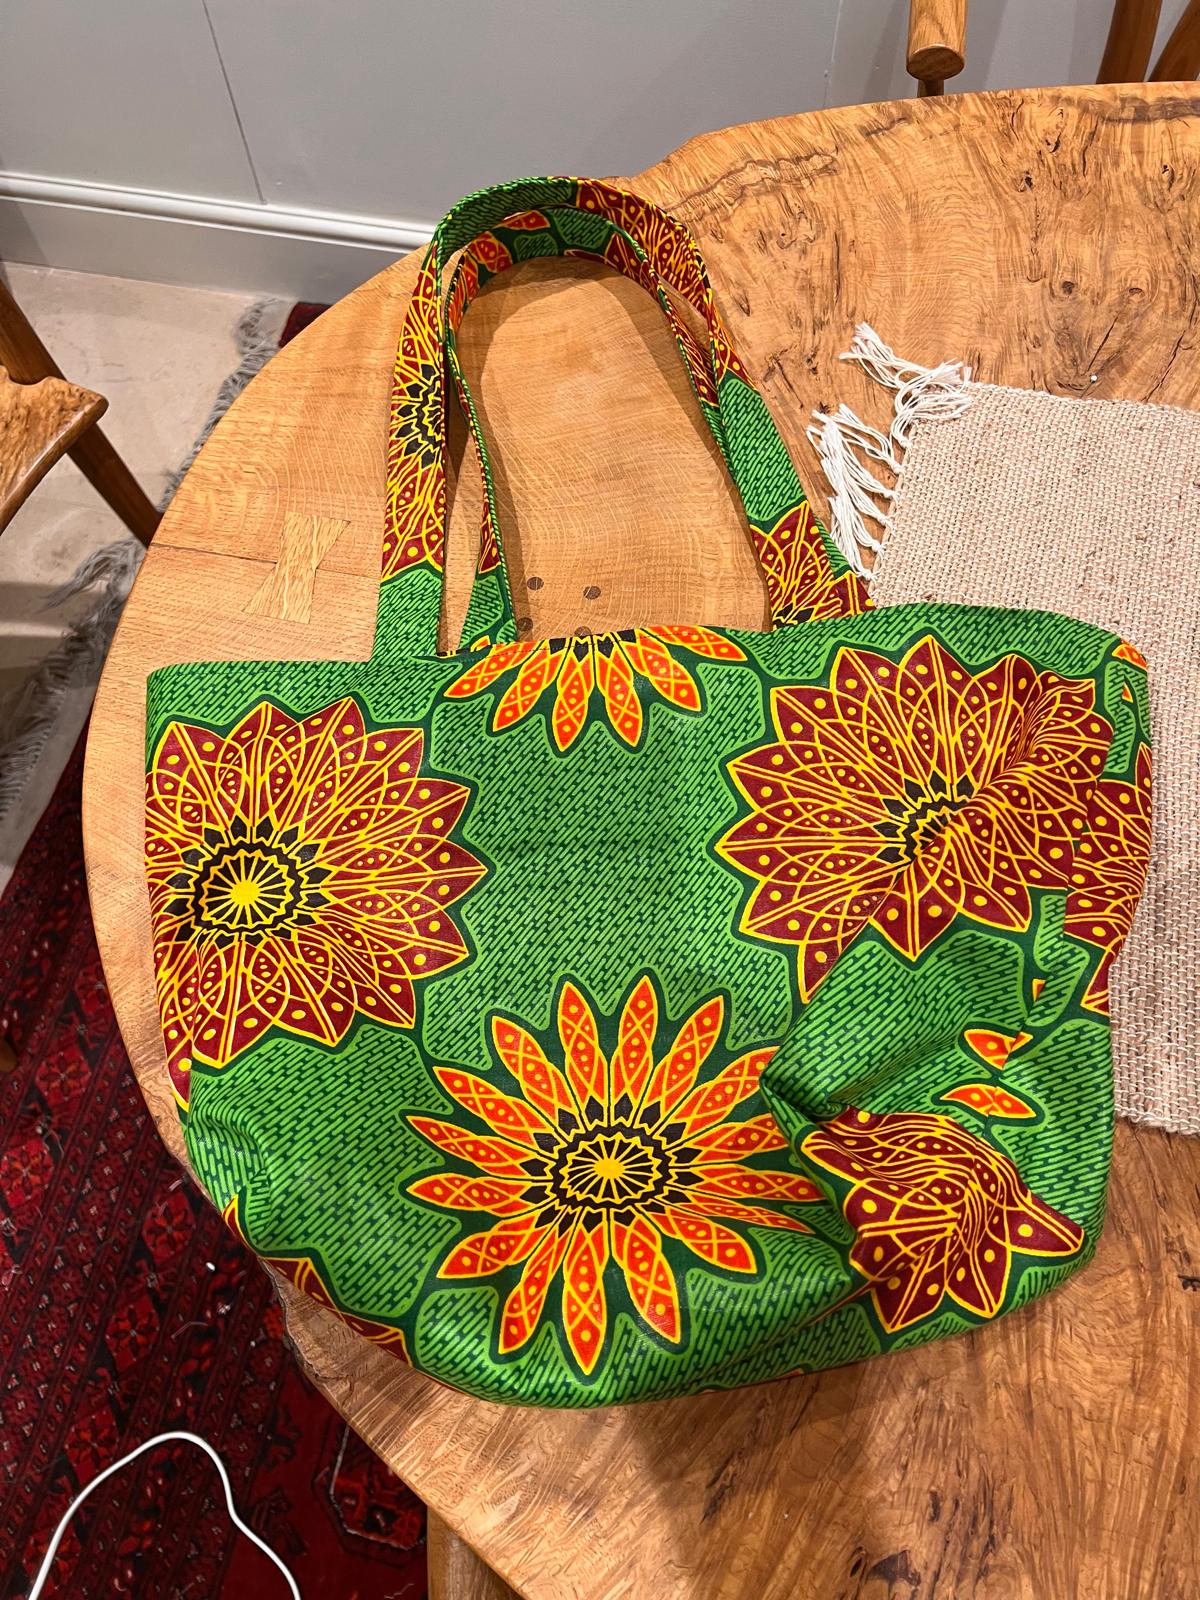
Reversible Tote Bag with Flat Bottom
Overview `lesson of fabric and pattern
This first lesson gives you an overview of how to use the Top 11 tools I Use all the Time as detailed on the Hints & Tips page on the website. These include the Quilters Ruler, Large Set Square, Frixion pen to accurately measure out exact 90-degree angles for the rectangles and squares of fabric needed for each project.
The methods shown in this video will be used throughout the course.
Video 1Lesson 1: Measuring and cutting the lining fabric (in this case striped)
This first lesson gives you an overview of how to use the Top 11 tools I Use all the Time as detailed on the Hints & Tips page on the website. These include the Quilters Ruler, Large Set Square, Frixion pen to accurately measure out exact 90-degree angles for the rectangles and squares of fabric needed for each project.
Video 2Lesson 2: Using the first cut piece as a template for the other pieces
How to use one cut piece as a quick template for the other pieces you need.
Looking at the placement of any template so the pattern is exactly the same on each piece especially along the top edge in this case.
Video 3Lesson 3: Measuring and cutting the main fabric (flowery)
How to approach the pattern on a 'busy' design before marking and cutting.
Fabric isn't always printed exactly straight so bear this in mind and 'go with the pattern' rather than try to just cut a square. For example, place your quilters ruler along a line of flowers or birds or trees and check that all the tops of the birds or trees are going to be cut at the same point.Draw this line first as if it will be the top edge of the fabric you cut, so you know that the pattern at the top of your fabric is even; then you can draw all the other lines downwards from there.
Video 4Lesson 4: Measuring and cutting the fabric for the handles
In this video I am suggesting and showing you how to make the handles out of just one of the fabrics. You can, of course, make your handles out of both the main fabric and the lining fabric, but for now, let's just keep things simple!
Video 5Lesson 5: Getting all the pieces together
At this point, gather all your pieces together in front of you and put a pin in the top middle of the right side of each piece you have cut.
This will help you when you come to assemble everything together.
Right sides = the nice printed/patterned side. If plain, make sure you pin the fabric on the right side or same side as even plain fabric can look different depending on which side you are looking at.
Wrong side = the back of the fabric.
Video 6Lesson 6: Folding and pressing the handles
Having an iron to hand (I generally use mine without water in so it doesn't suddenly spurt out dirty water on my beautiful work!) is a must. I have my ironing board set up too for when I'm making small projects.
Your iron is your friend when sewing as you can press folds to sit exactly where you will want them before sewing. This helps enormously as the fabric will already be sitting neatly before you sew it.
Video 7Lesson 7: Sewing the folds of the handles
If one edge of your handle sits alongside the edge of the metal foot, this will sew a line approx 1cm from the edge.
Check the grooves and numbers on the metal plate as these show 1cm, 1.2cm, 2cm seam allowances. Seam allowance is the small width of fabric with the frayed edges which sits to the right-hand side of the line of sewing you are about to sew.
Video 8Lesson 8: Measuring and marking where the handles will be sewn on
Whatever marks you make on the right-hand side, mirror these on the left-hand side.
Video 9Lesson 9: Sewing the handles in place
Make sure your handles aren’t twisted at this point. They will curve but not be twisted.
Video 10Lesson 10: Pinning and sewing lining to the main fabric
Make sure the lining sits exactly on top of the main fabric.
Video 11Lesson 11: Opening out and pressing the seams
This is an important bit of ‘housekeeping’ so that all the seams sit open and flat before you move on.
Video 12Lesson 12: Sew the main fabric into the bag shape
As there are a lot of layers, try starting ahead of them and go backwards before coming forwards. Try to start as high up here as possible and make the beginning of this seam as secure as possible by going backwards and forwards at the start a couple of times.
Video 13Lesson 13: Sew lining into bag shape with opening
Try to start and finish at one of the side seams and as close to the top of the lining. To do this place all the layers of the top fold of the bag so that the folded edge sits neatly under the foot so that the fold ‘runs’ along the edge of your foot.
Video 14Lesson 14: Tidying up and finger pressing all seams open and flat
Again, time to do some tidying up so snip off any loose threads and either finger press these new seams out flat or use the point of your iron. A bit of gentle manipulation is needed here.
Video 15Lesson 15: Measuring and creating flat bottom corners of main and lining fabric
Your quilters ruler will be very useful at this point.
Video 16Lesson 16: Sewing across the corners and trimming
Make sure all the seams are sitting open and out flat before sewing across these corners.
Video 17Lesson 17: Checking the bottom seams and the last lines of sewing to do
Not far to go now!
Video 18Lesson 18: Close up of pinning and sewing the gap in the bottom of the lining
You can press the folds first as this will help 'tell' the fabric exactly where it should sit.
Video 19Lesson 19: Top stitching the top edge of the bag all the way round
Pin the two layers so the top edge is really even and not showing the lining from the outside.
Video 20Lesson 20: Summing up the final product.
Ta-dah!!
Well done, you’ve done it! I really hope you are pleased with what you have made!!
Video 21No related materials
There are no related products or courses available for this course.