
Easy Beginners Project - Small Lined Zip up Makeup or similar Bag
This easy beginner project includes a set of detailed easy-to-follow pre-recorded video tutorials which cover every step of the project. Follow each of these in order, and check your progress as you work through each video. You can re-watch any video at any time.
Skills you will learn:
Accurately measuring, marking and cutting your fabric with essential tools
Sewing forwards and backwards
Turning corners
Your iron is your friend
Changing and using sewing feet (normal and zipper)
Choosing fabric and looking at how to place pattern in a project
Inserting a zip
How to neatly start and finish off seams
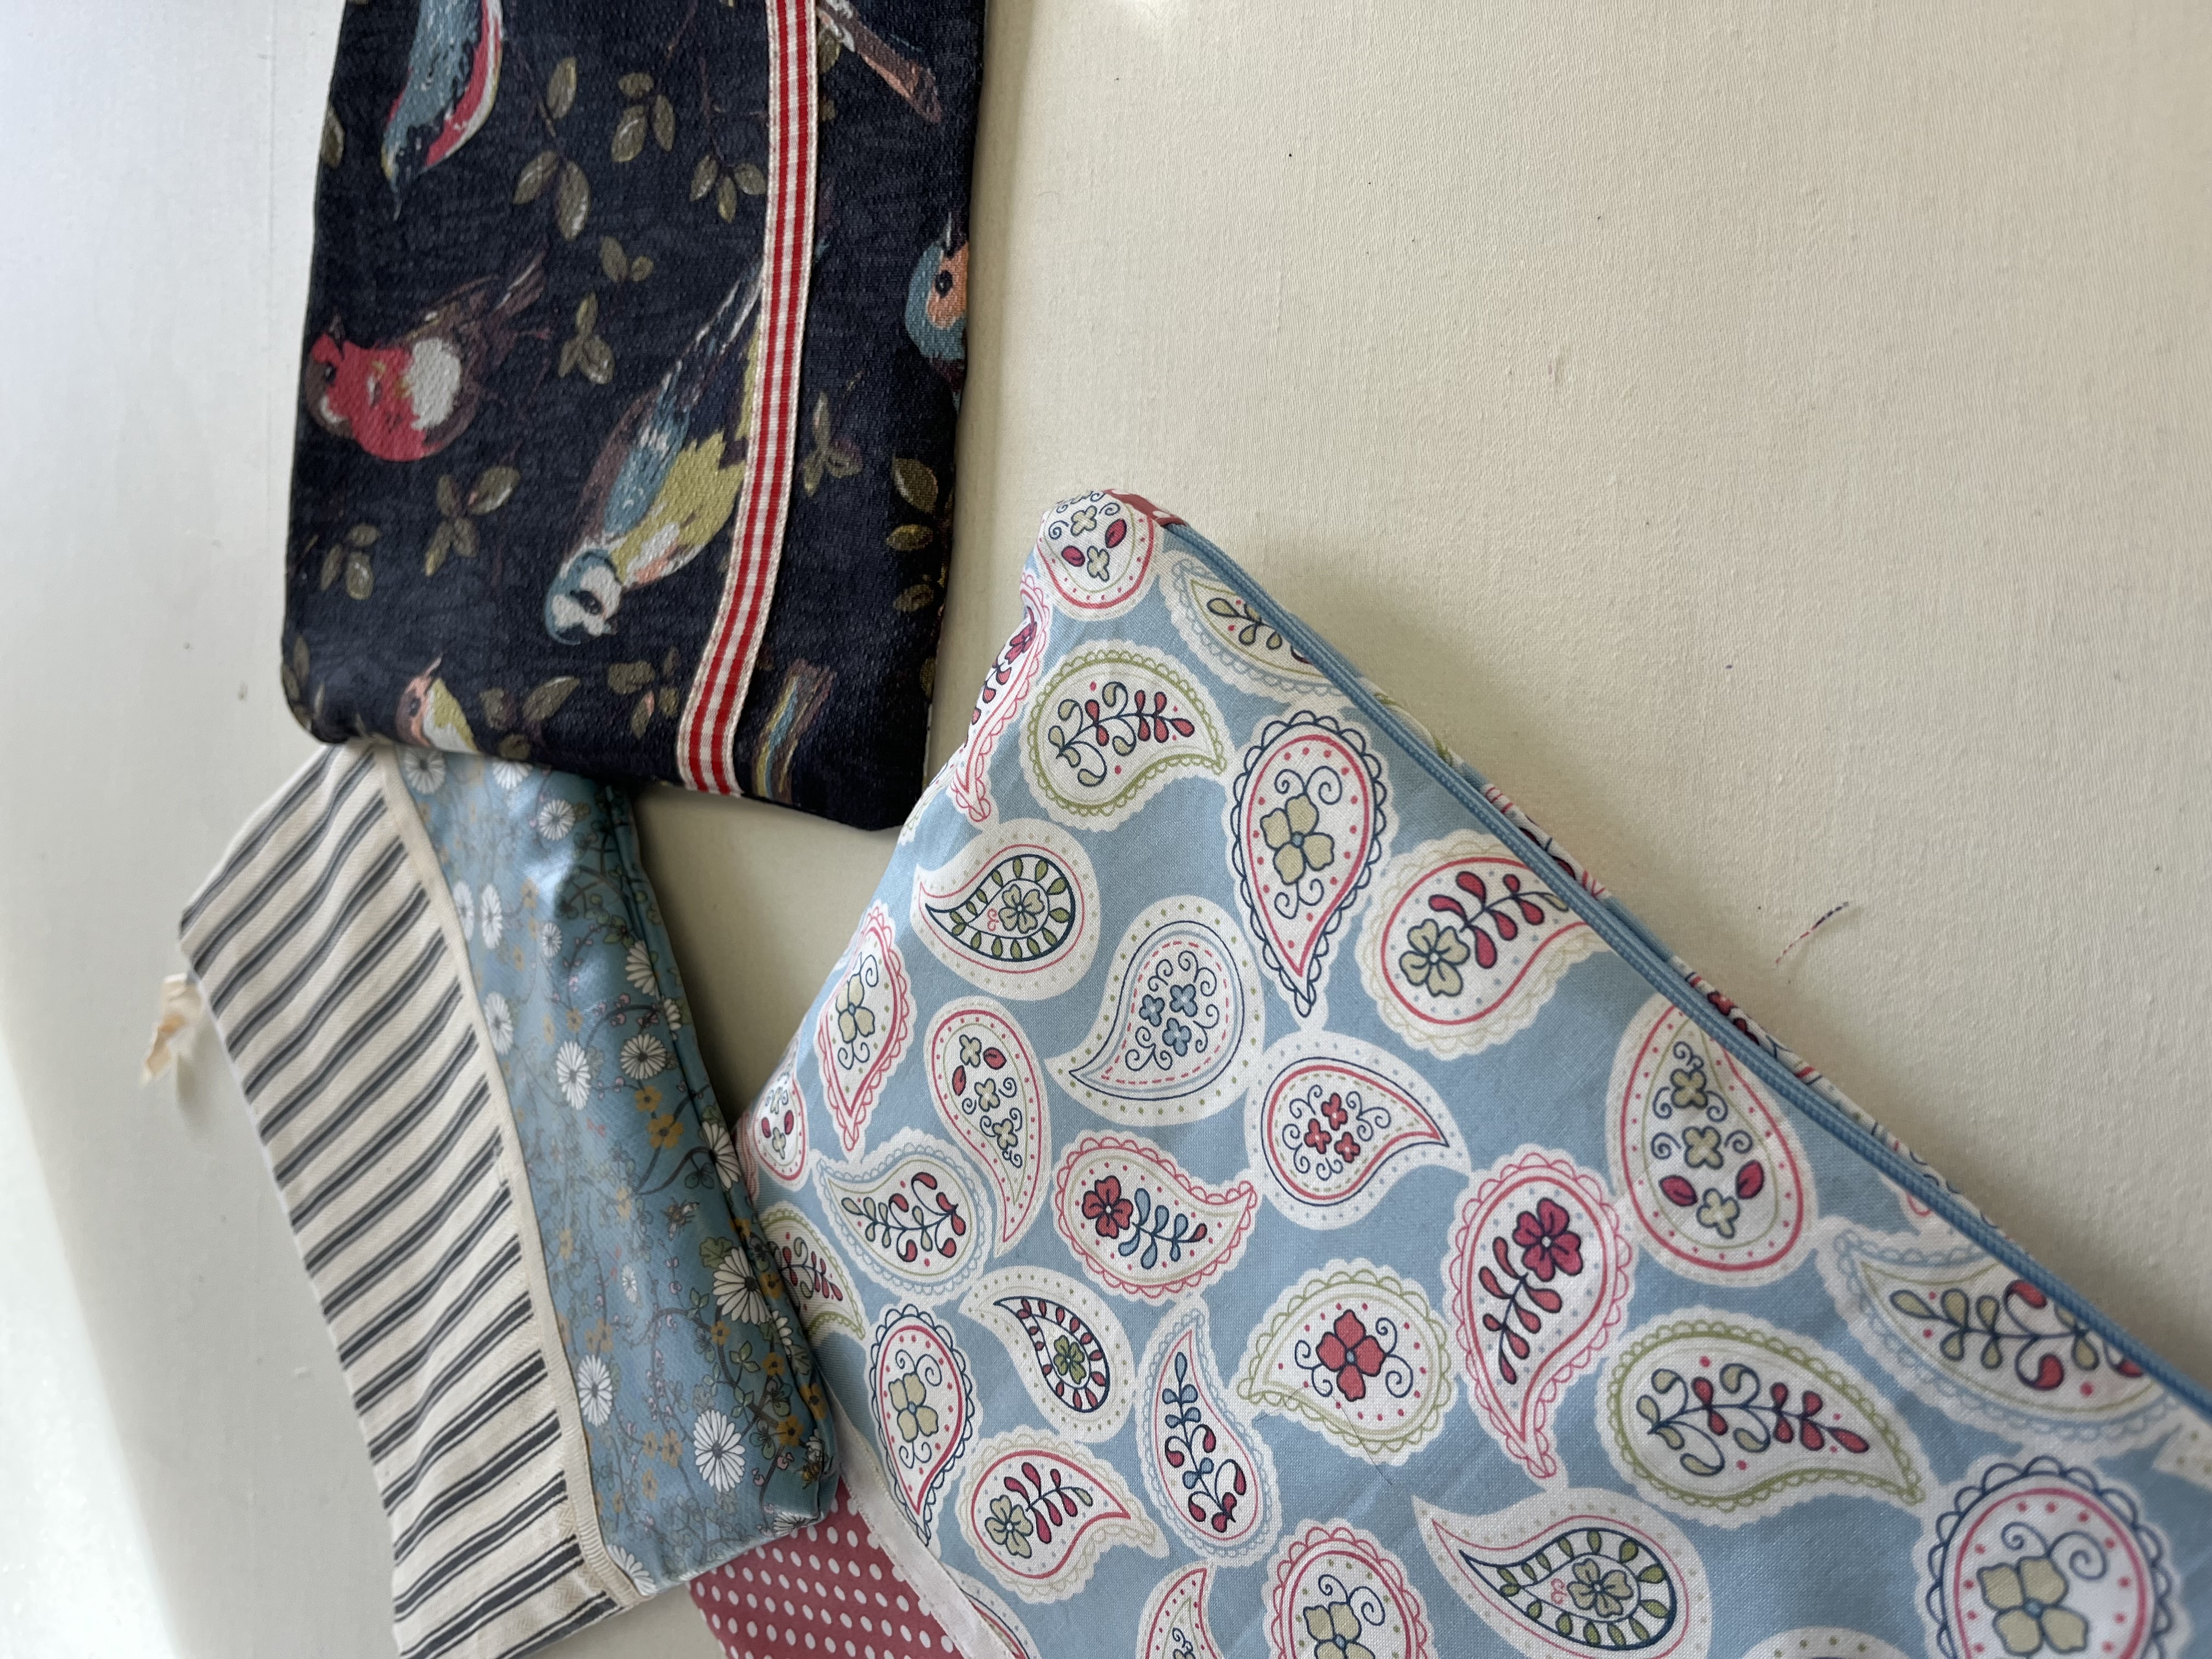
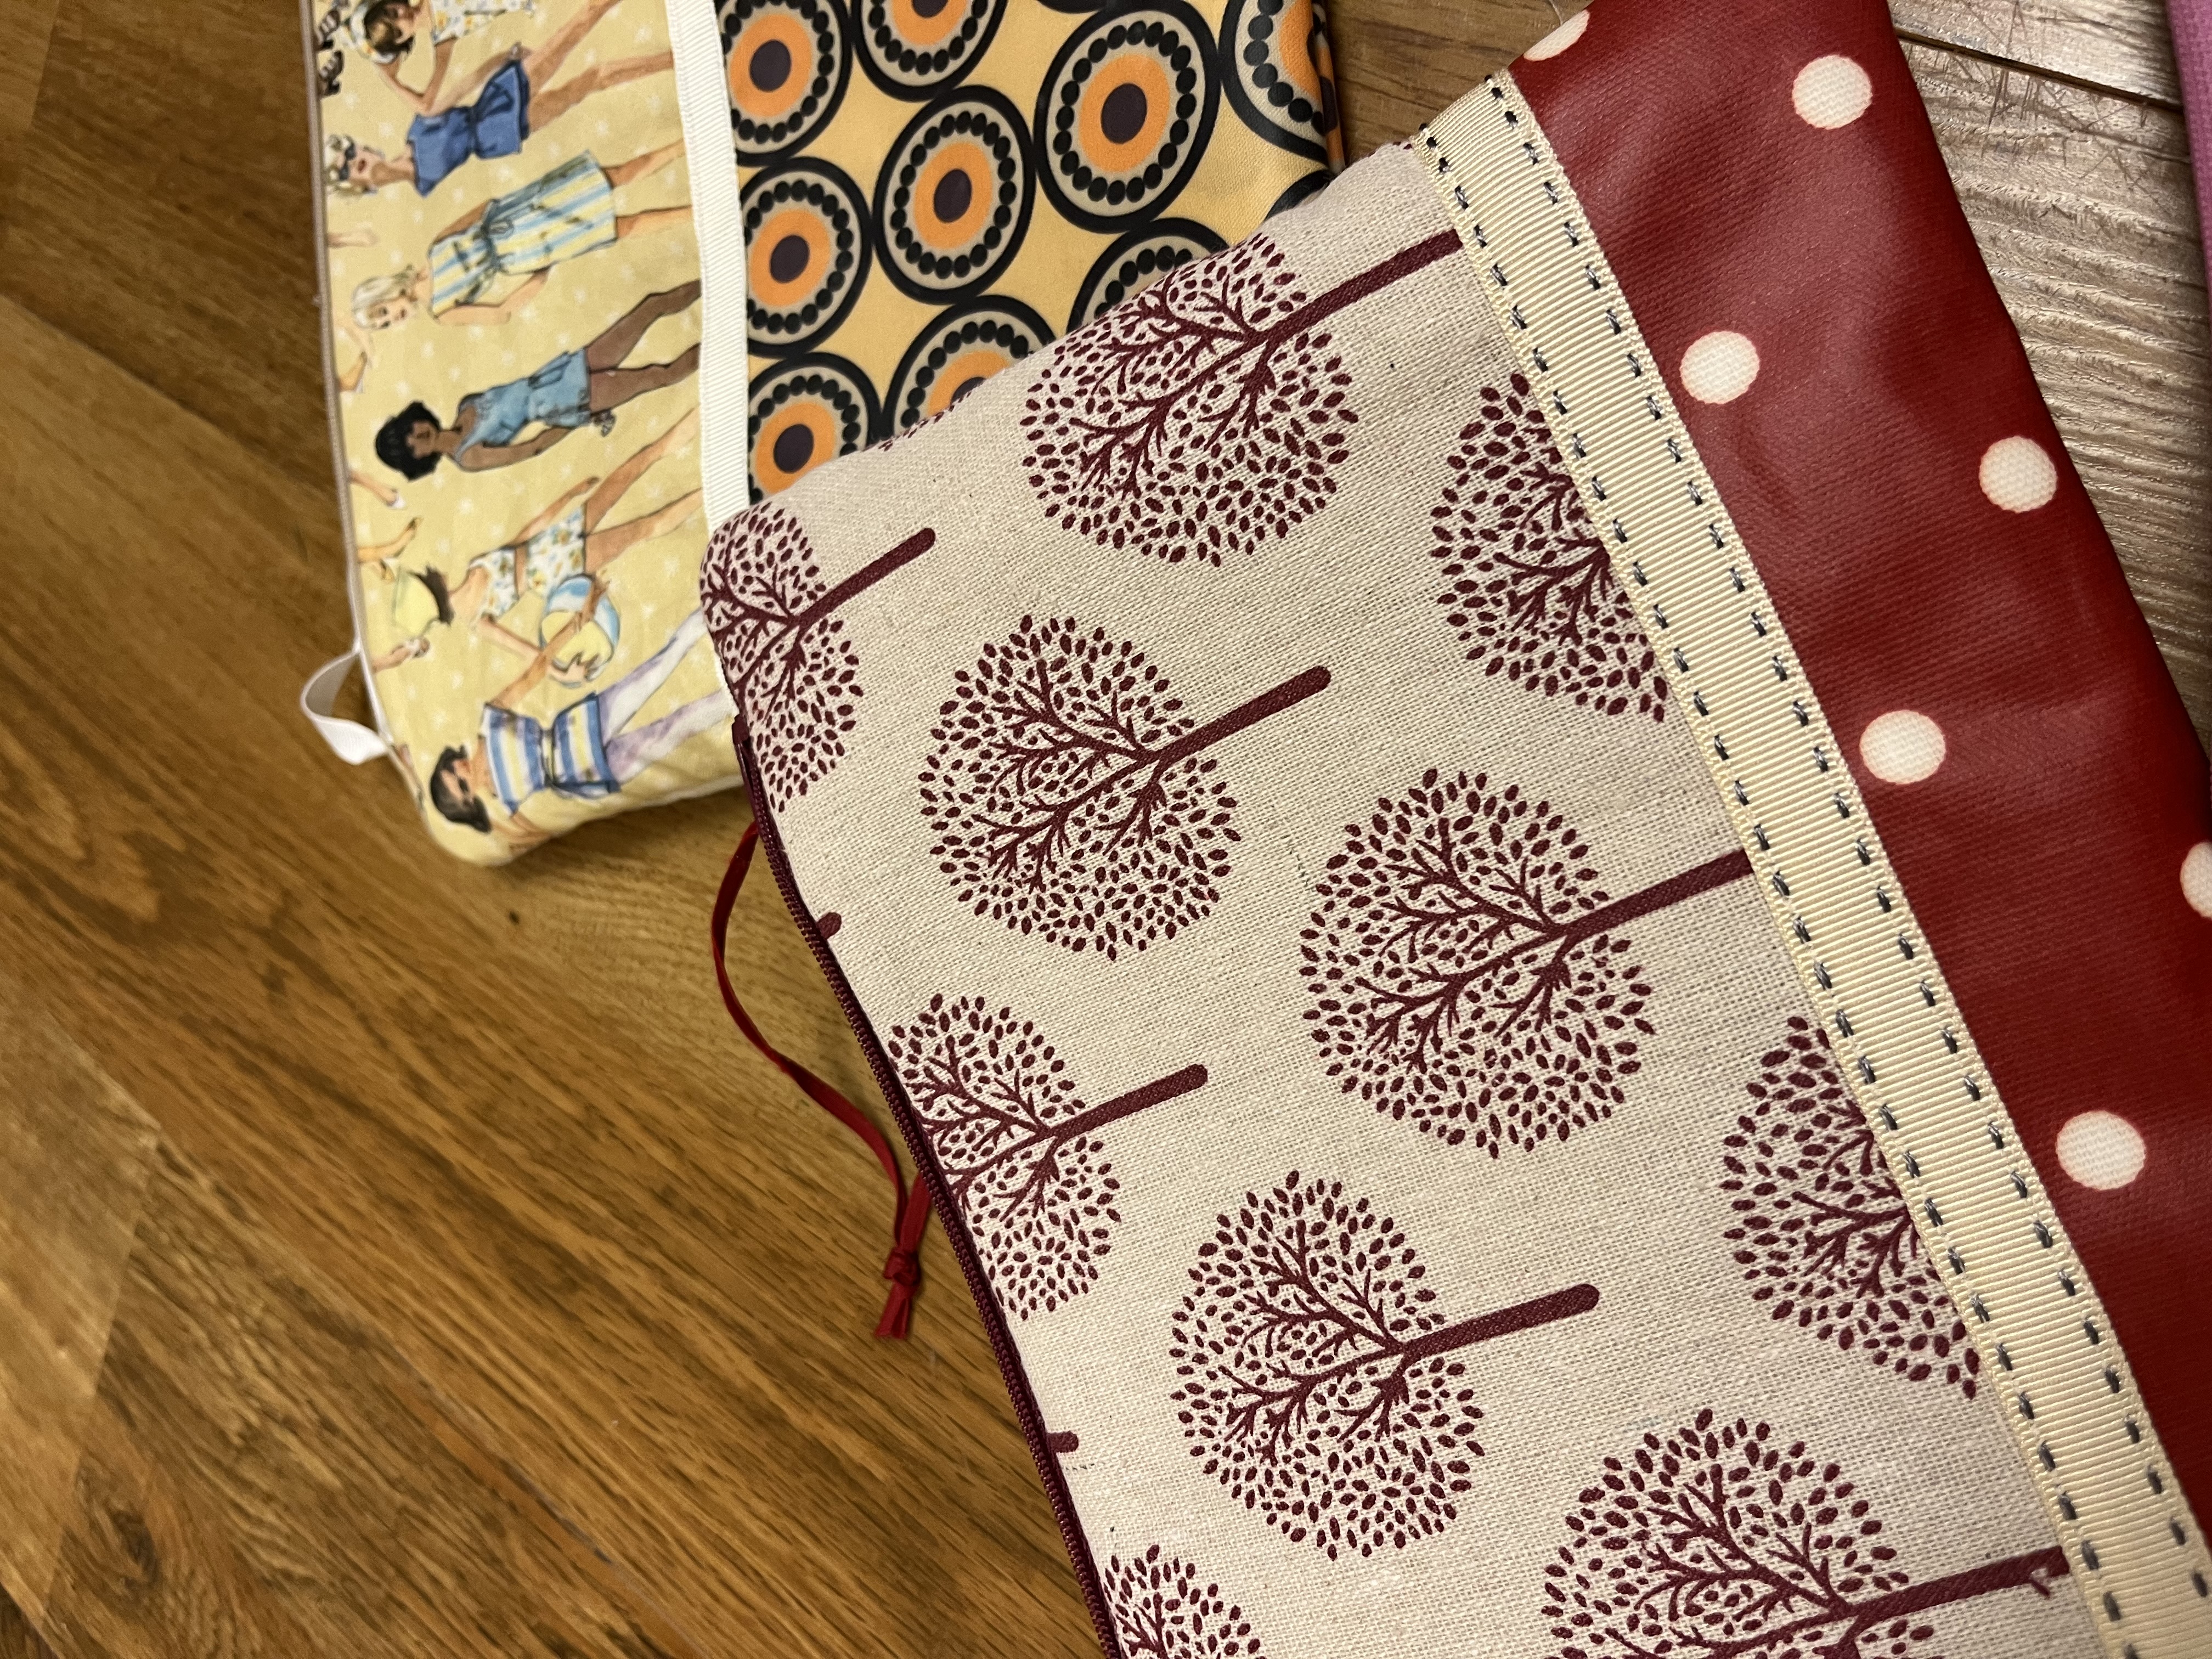
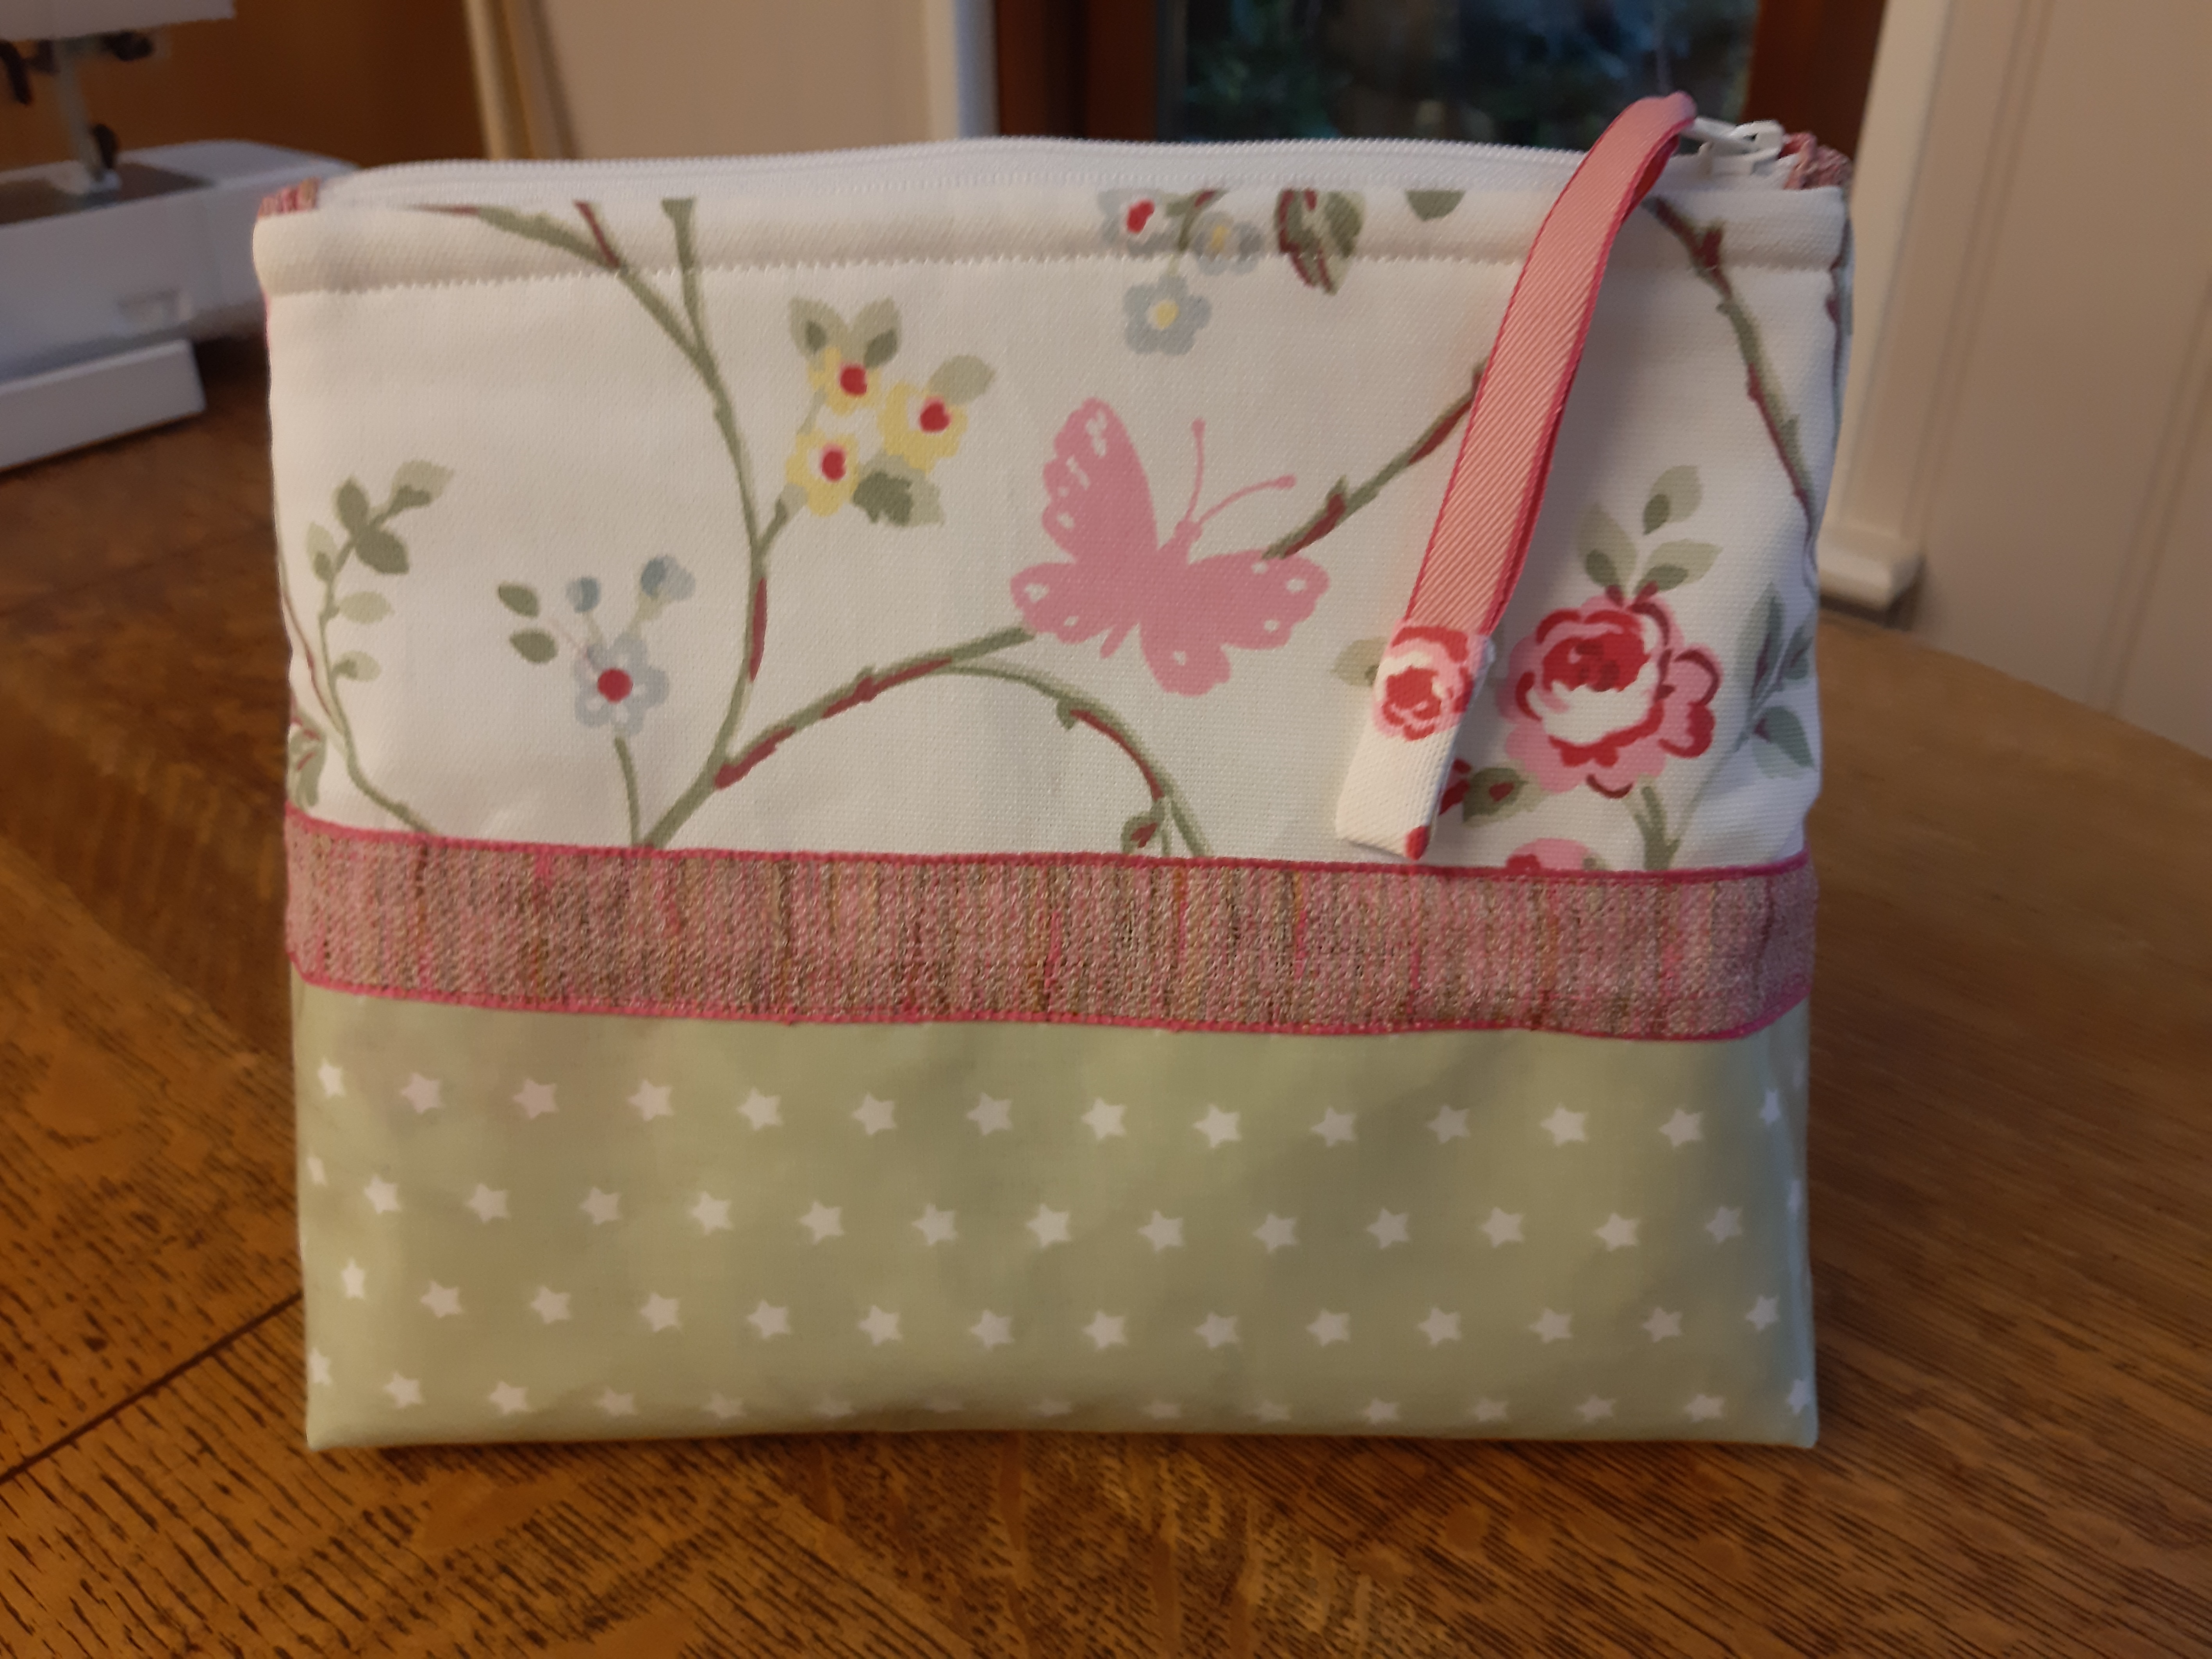
Easy Beginners Project - Small, lined, zip-up Makeup or similar Bag
Lesson 1: Measuring and cutting main and lining fabric.
Take a look at the Blog on the Hints & Tips page on the website which lists the Top 11 Tools I Use All the Time. Here you will see the useful tools and where you can buy these.
Video 1Lesson 2: Getting all your pieces together and preparing the ‘zip ends’.
This video shows you how to start making the tiny pieces of fabric which will show at both ends of the zip in your final project. If you look at the way zips are put in on washbags and similar bought projects there are a lot of different ways of doing this; I personally like to cover the metal stoppers at the ends of a zip and this method of adding a pop of colour in the fabric you use does just this.
Follow the process and all will become clear!
Video 2Lesson 3: Dewing the first ‘zip end’ fabric onto the zip
This video shows you how to sew the small folded piece of fabric to one end of your zip. This is quite fiddly but worth it.
When you sew across the zip, the needle will go into the plastic teeth of the zip but make sure you sew your line away from the metal or plastic stopper.
Video 3Lesson 4: Sewing the other ‘zip end’ to the zip
In this video you will see how to sew your 'decorative end' fabric onto the other end of your zip. The closed end of the zip is easiest to add the fabric to, while the top end of the zip is the end which needs a bit of pinning to keep the two sides sitting together.
Video 4Lesson 5: Overview of inserting a zip with the zipper foot
This video shows you a complete overview of what you will be doing to insert the zip into your bag. In the next videos you will see the exact detail again, step by step as you sew the zip into your bag project.
Video 5Lesson 6: Sewing one side of the zip in
This video will take you through the steps to sew the first side of the zip in with the zipper foot.
Video 6Lesson 7: Sewing in the other side of the zip
Follow the step by step guide here to sew in the second side of your zip.
Video 7Lesson 8: Tidying up and pinning main fabric together
It's important to have a tidy up of loose threads so snip any of these right down near the fabric and snip off any fraying threads. Now you can start pinning the main sides together to form the bag.
Video 8Lesson 9: Sewing right-hand sides together
When sewing certain seams, it is important to always sew them in the same direction eg from top to bottom. So here you will be sewing the right-hand side from top to bottom and then going on to sew the left-hand side from top to bottom, rather then simply sewing from the top on one side and going all the way round to finish at the top on the other side! By starting at the top each time for each side, the fabric will sit much better and not get 'stretched' in the wrong direction.
Video 9Lesson 10: Sewing the left-hand sides together on the main fabric
In this video you will see how to start the sewing of the left-hand side at the top - this means you will have to flip the project over so you start to sew with all the main project lying out to the left of the needle.
Note: when possible, make sure you sew with all the fabric of the project sitting to the left of the needle. This avoids you having to fold and push all the excess fabric through the 'gap' which is what will happen if you sew with excess fabric sitting on the right-hand side of the needle. This comes with practise and becomes clear when you put pins in so that you pull them out towards your tummy. Keep practising!
Video 10Lesson 11: Checking the main fabric turns inside out ok
In this video we take a look at the bag taking shape. I, for one, am too impatient to wait right until the end, so poke the bag the right way round and check all the corners and the zip sit nicely. Worth checking before going any further in case you need to adjust or redo any seams.
Video 11Lesson 12: Pinning and sewing the lining together
In this video you can sew the lining together by starting at one top edge and going all the way round. This is the lining so it's not so important to start at the top of each side.
Note: Don't forget to leave a gap at the bottom of the lining for pulling it all inside out! If you do forget, you can also leave the gap up one side of the lining!
Video 12Lesson 13: Snipping threads and turning inside out
A bit of tidying up and now to pull the whole bag through the gap in the bottom of the lining. Lots of poking out of corners and poking up of the lining underneath the fabric at each end of the zip.
Video 13Lesson 14: Sewing up the bottom of the lining
In this video the last seam is the one at the bottom of the lining. Hold the gap flat and press the seam allowances to sit nicely on top of one another so you can simply top stitch across the gap as close the the edge as possible. Sew backwards and forwards to secure the beginning and the end of this line of sewing.
And Ta-dah! One zip up lined bag.
Enjoy!
Video 14No related materials
There are no related products or courses available for this course.